Connecting your Cambium appliance to your Sonar instance is essentially a 3-step process. Cambium communicates unilaterally with Sonar, reading the information it needs to access and perform all actions directly on the Cambium appliance. For this reason, the integration is simple, with very few prerequisites to consider.
The basic steps are:
Activate the Sonar Integration in your Cambium appliance
Create a Sonar Read-only API key
Add the API key details into the Cambium management engine
Activating the Sonar Integration
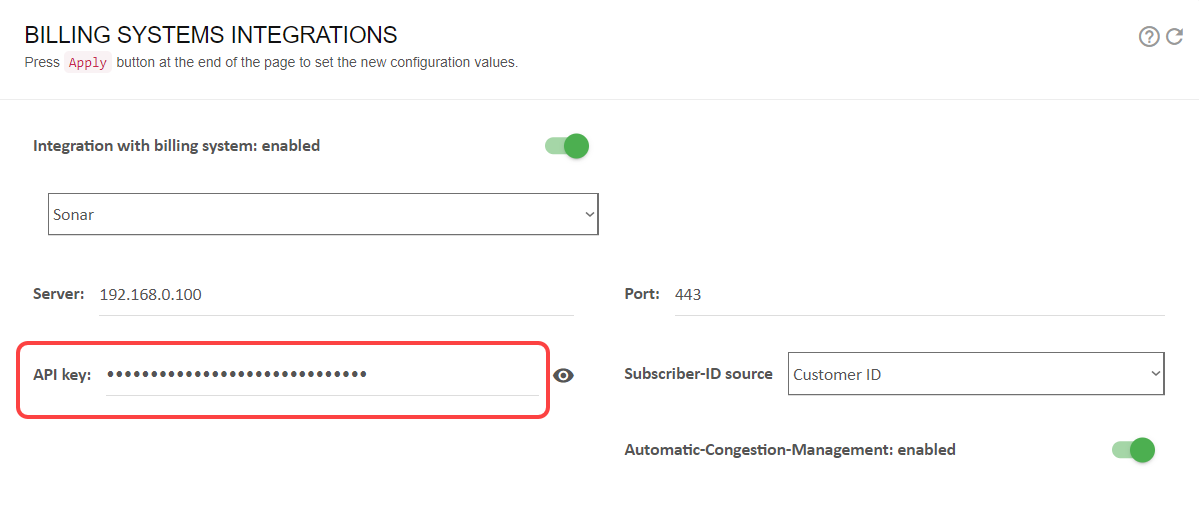
Because the Cambium QoE system is a read-only integration, the activation process occurs primarily within the management interface for your appliance. To activate Sonar, navigate to Configuration → RADIUS/REST/Billing → Billing Systems. Once that's done, select “Sonar” from the dropdown, then click the “enabled” toggle.
Creating a User and API Key
Next, you need to create a Read-only API Role in your Sonar instance through Settings → Security → Roles. Full details on how this can be done, and the specific permissions, are available in this article. The Role can also be created through the API by using this command. With the role created, a new, dedicated API user can be created for the purposes of generating secure Personal Access Tokens. Full instructions on new user creation are available in this article, and below:
Creating the User
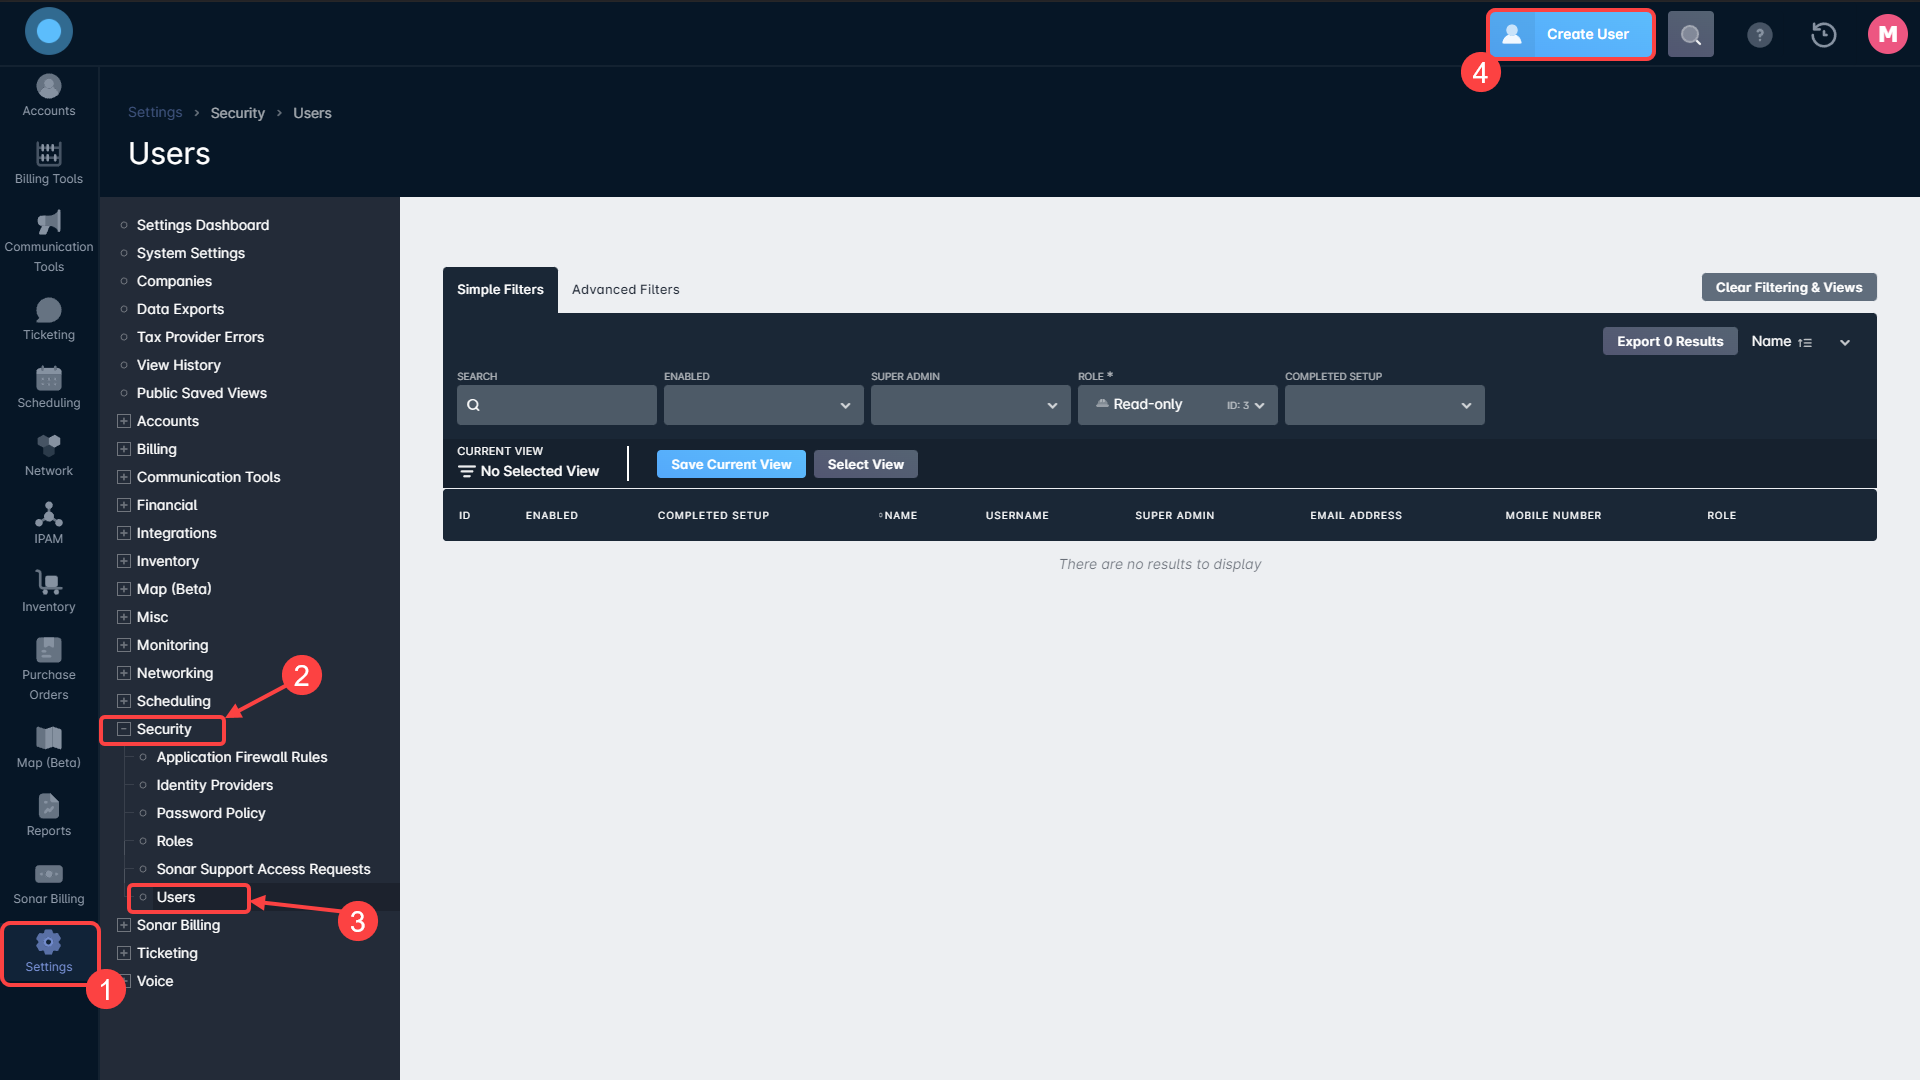
Now that we've created the Role, we'll be creating the user who we'll be using to provide access to Cambium. To create a new user:
Click on Settings
Click on Security
Click on Users
Click on Create UserA user created using the Read-only role generated with the API command would look something like this:
While not completely necessary, creating a dedicated user for API integrations is recommended for data security and deployment purposes.
Creating the API key
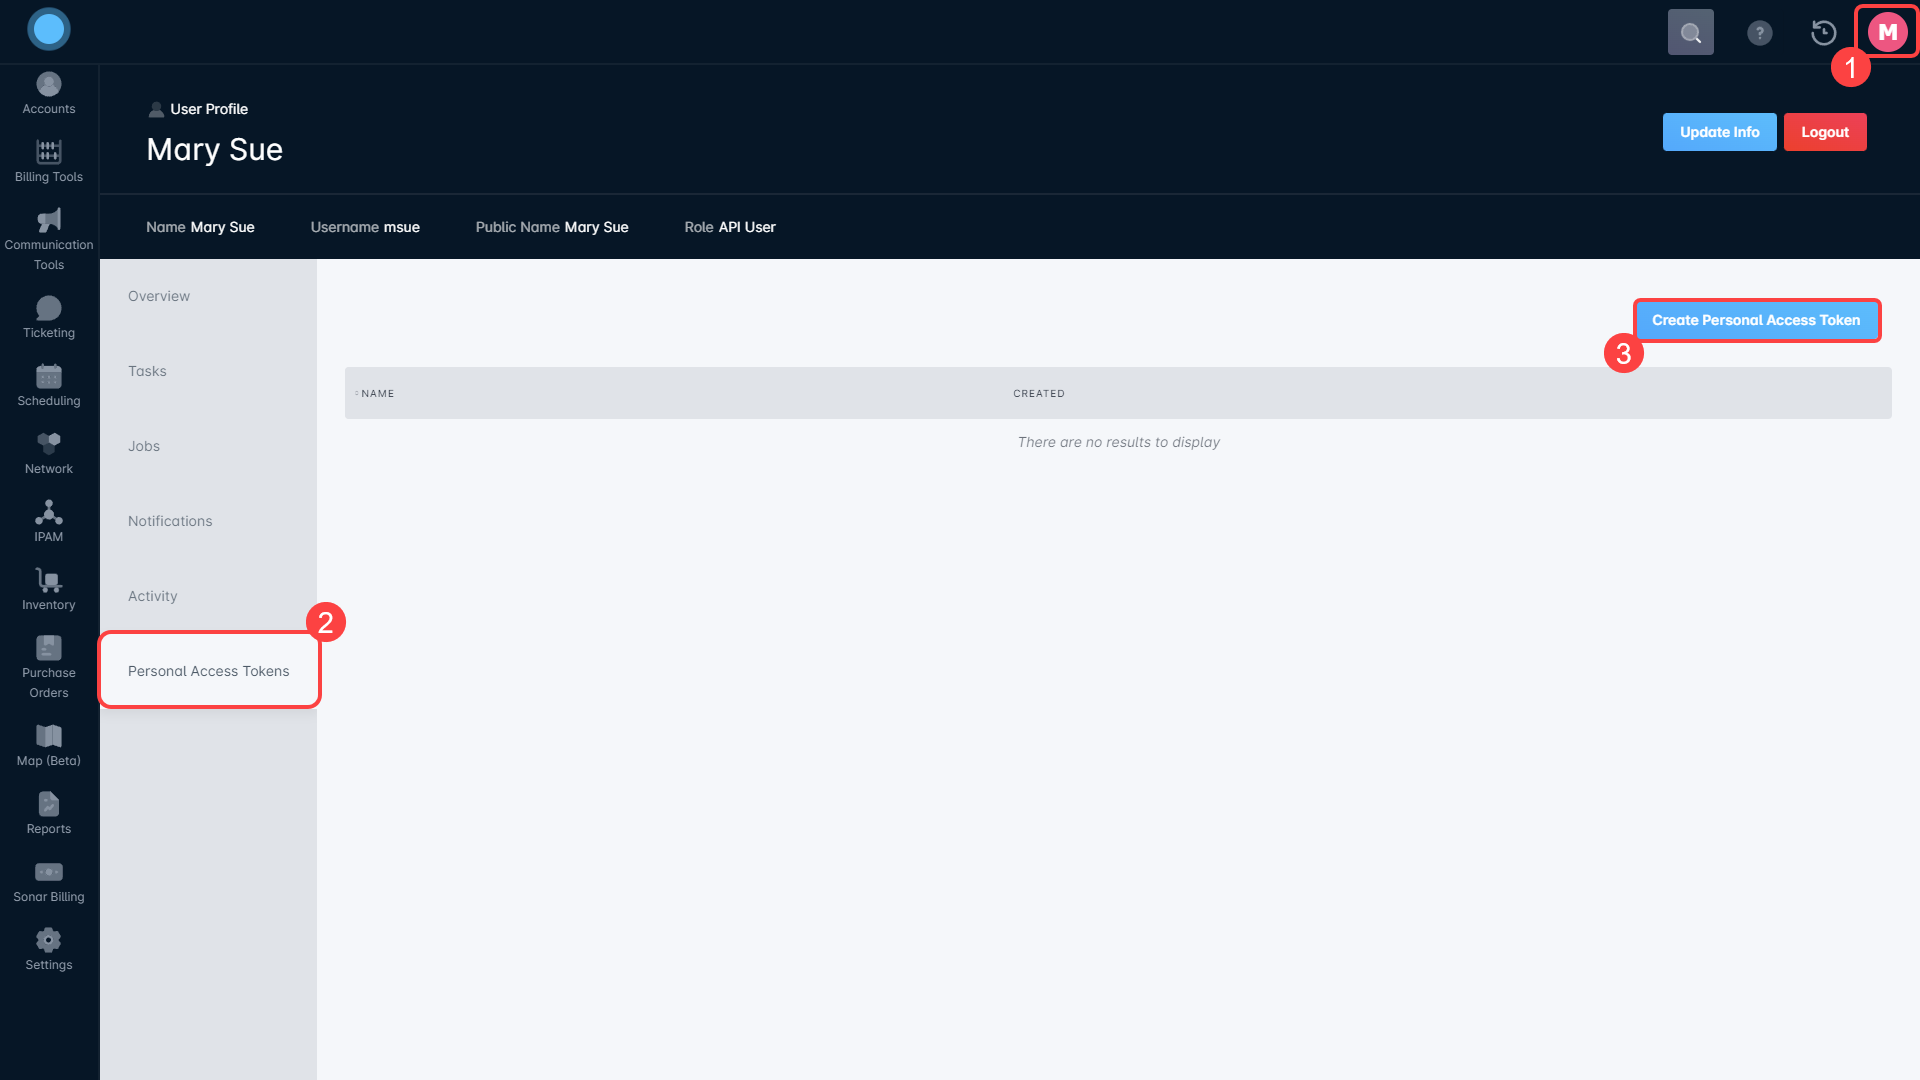
Once the user is created, generate a Personal Access Token by:
Clicking on the user icon in the top-right corner
Open the “Personal Access Tokens” tab
Click on “Create Personal Access Token”
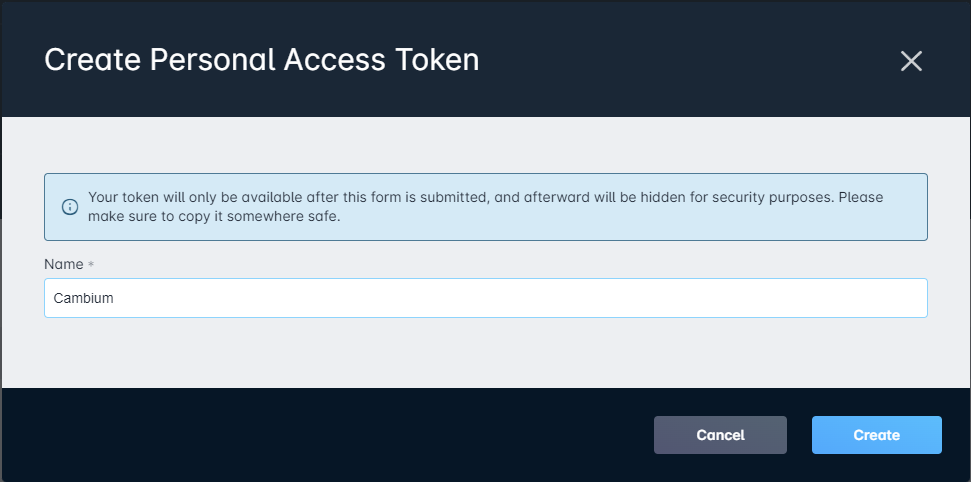
Provide a name for your Personal Access Token. In this case, a name like “Cambium” might be appropriate.
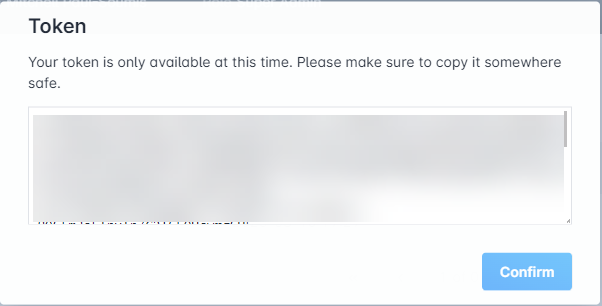
Once you've named the Personal Access Token and clicked “Create”, you'll be provided with the API token for communication with Sonar:
If you no longer have the token, a new one will need to be generated. Once the confirmation dialog is closed, there's no way to re-obtain the token details.
Adding API Information to Cambium
Navigate to Configuration → RADIUS/REST/Billing → Billing Systems in your Cambium management UI and, in the “API key” section, enter the entire token you generated in Sonar.
By default, all customers with a status other than “Active” will be blocked by the Cambium system, as they are considered lacking a valid subscription. This behavior can be changed using the QoE CLI.
Instructions for changing this, and for many other processes in the Cambium QoE appliance, can be found in the User Manual available from Cambium's website. This is provided entirely by Cambium and may fall out of date.
 Updated
by Mitchell Ivany
Updated
by Mitchell Ivany