Table of Contents
- GraphiQL Built-in IDE Overview
- GraphQL Usage Examples
How To Use GraphiQL to Understand the Sonar API
 Updated
by Mitchell Ivany
Updated
by Mitchell Ivany
- GraphiQL Built-in IDE Overview
- GraphQL Usage Examples
Read Time: 7 mins
1. The New Sonar API
2. A Deeper Dive into the New Sonar API
3. Mutations in the Sonar API
4. Consuming the Sonar API
GraphiQL Built-in IDE Overview
The GraphiQL interface allows you to run mutations and queries within your web browser without the need to write any code. This allows you to find and even edit collections of data directly from the web interface. For a basic understanding of GraphQL language and syntax, please check out https://graphql.org/learn/. To access the GraphiQL interface within your sonar instance type "/graphiql" at the end of your instance domain.
Within this interface, you can also view the documentation for each graphql call to see what format is required and their relationships.

Learning How Sonar Works
When learning the API, using the Sonar front-end is helpful in seeing it in action. If you use your browser's Developer Tools > Console, you can type helpMe next to the > symbol. Your browser might look slightly different, but here is an example:
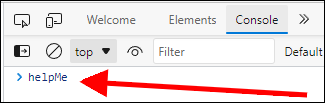
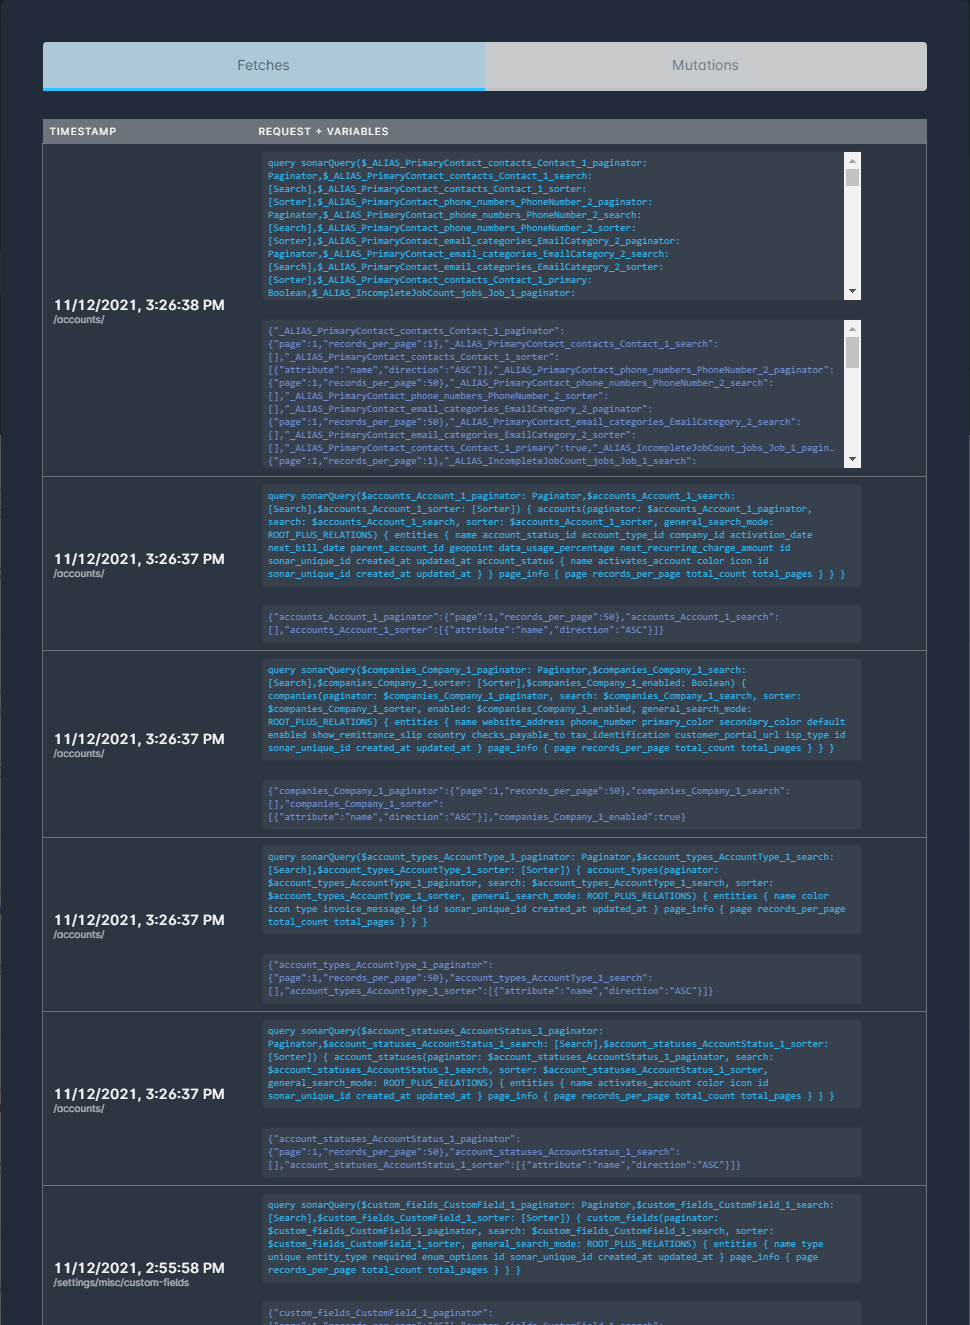
Hit ENTER and you can see fetches (queries) and mutations that have been run on the web interface. This gives significant insight into leveraging the API.
GraphQL Usage Examples
Query Request - Querying Inventory IP Assignments
In Sonar, IP Assignments can be attached to Inventory items both directly, or through Inventory Item Field Data, such as the IMSI or the MAC Address. In this scenario, we'll be running through the commands to query your instance's inventory and gathering the IP Assignment information.
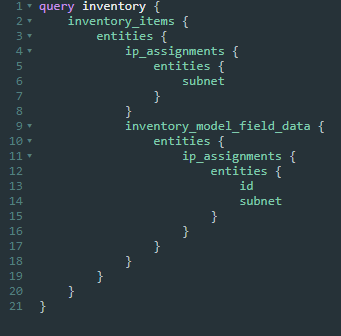
Using the following Query:
query inventory {
    inventory_items {
        entities {
            ip_assignments {
                entities {
                    subnet
                }
            }
            inventory_model_field_data {
                entities {
                    ip_assignments {
                        entities {
                            id
                            subnet
                        }
                    }
                }
            }
        }
    }
}
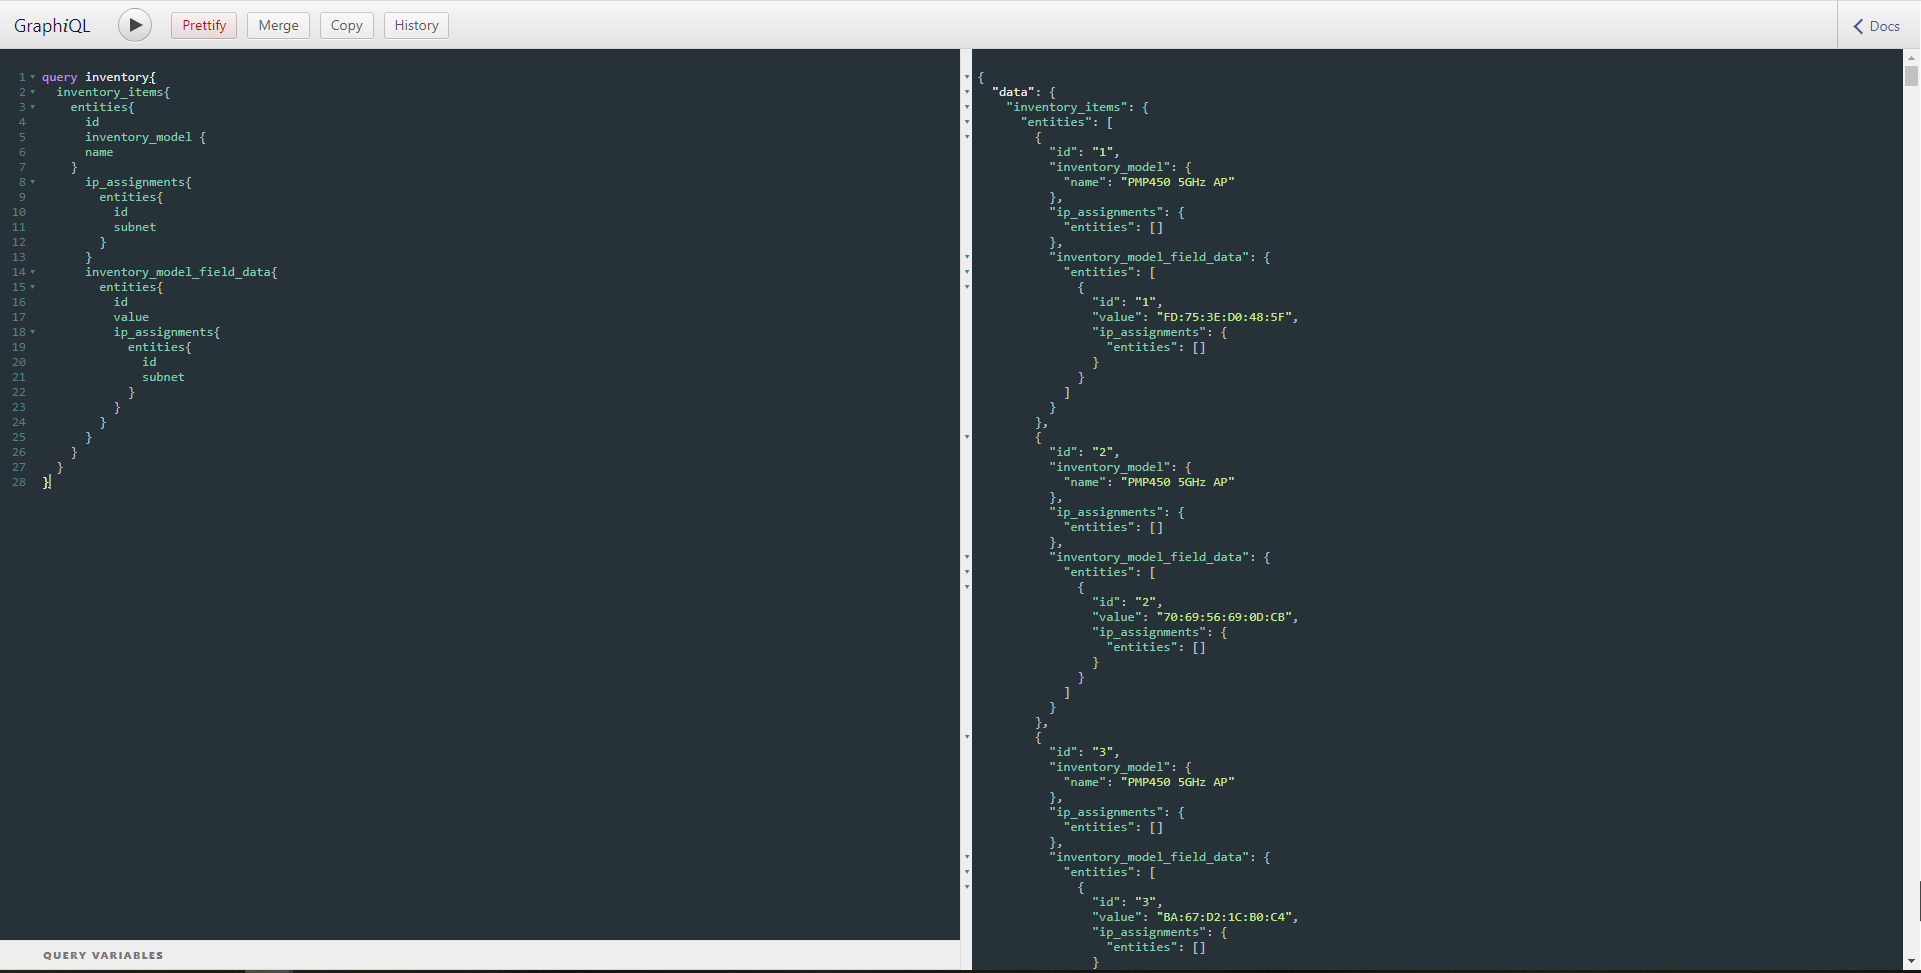
When you run this you'll receive the following reply, listing all inventory items and their assigned IP Addresses on your instance:
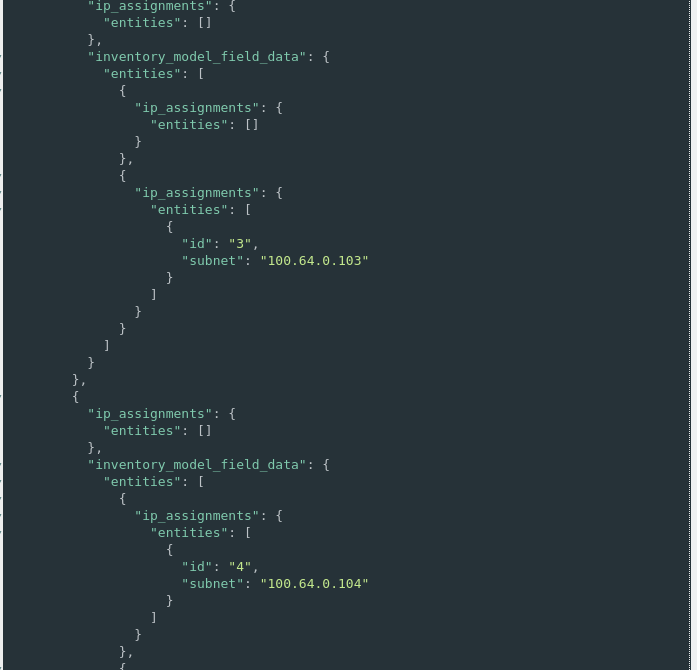
Now, with the way we ran this you don't see the ID or inventory information, so let's go ahead and add some additional fields to pull.
query inventory{
  inventory_items{
    entities{
      id
      inventory_model {
      name
    }
      ip_assignments{
        entities{
          id
          subnet
        }
      }
      inventory_model_field_data{
        entities{
          id
          value
          ip_assignments{
            entities{
              id
              subnet
            }
          }
        }
      }
    }
  }
}
Pagination
In graphiql, results from a query will default to 100 results. If you require more results you can accomplish this through pagination. To apply pagination, we must first specify this at the start of the query, as well as which object we want to return that many results. Through pagination, up to 10000 records per page can be displayed. You can also select which page you would like to do for datasets that exceed 10000 lines. Below is an example of how to paginate requests:
Query:
query ($paginator: Paginator) {
  addresses(paginator: $paginator) {
    entities {
      id
      line1
    }
  }
}
Query Variables:
{
  "paginator": {
    "page": 1,
    "records_per_page": 10000
  }
}Mutations (Create/Update/Delete Data) - Modifying your Data
GraphQL can also be used to modify values in your instance, such as in the case of inventory in the previous example. GraphQL can be used to create, update, or delete an item. A great example of mutation usage is Role Mutation. In the following example, we'll be looking at adding, updating, and deleting a role.
Create a Role Mutation
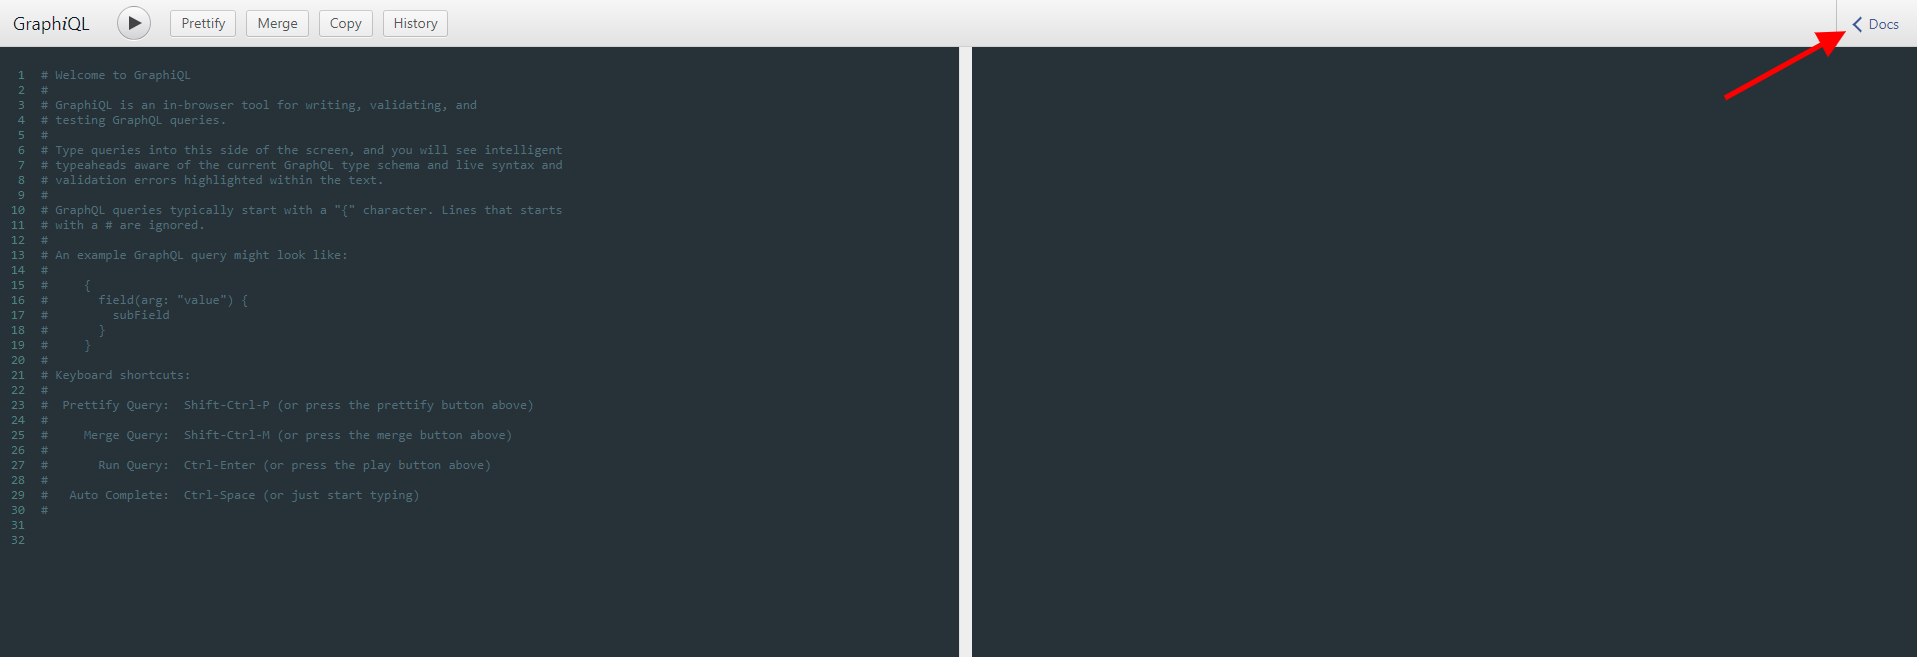
You can view what is required for a specific mutation by reviewing the Documentation Hub and clicking on "Docs" in the top left corner of the results pane. If you start to type createrole in the search bar, you'll begin to see the mutations that match that. You then can click on the results and see which fields are required and which are optional.
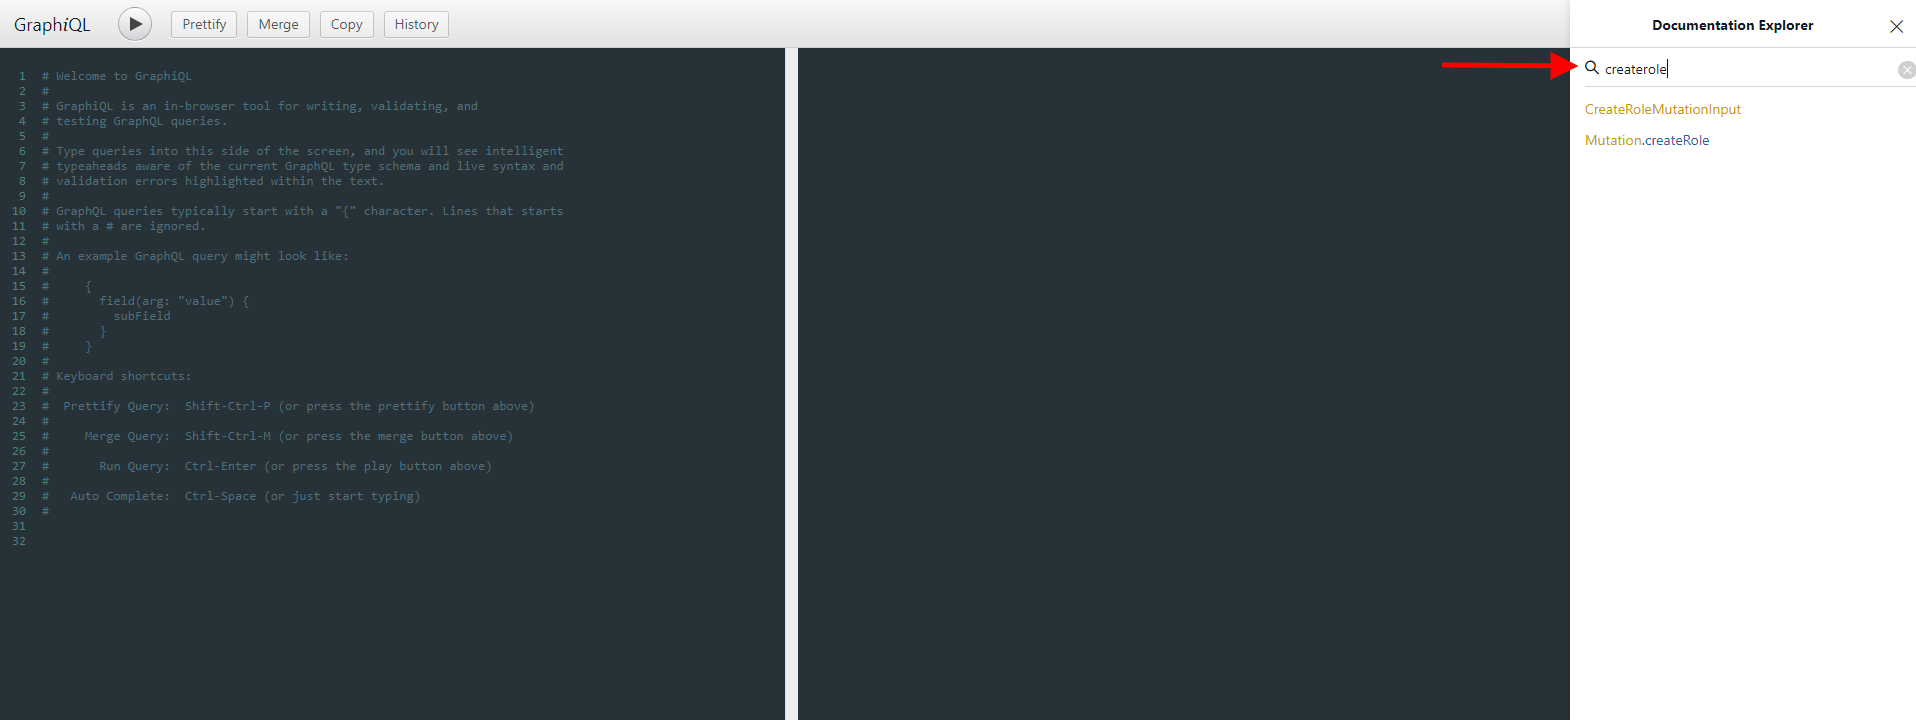
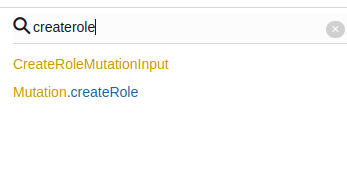
You'll want to click on the "CreateRoleMutationInput" result. This will show you what fields you can add within the GraphiQL Request Interface.
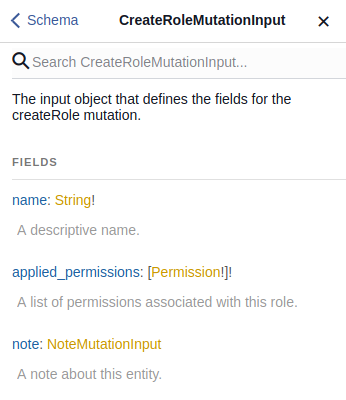
Now if you see the ! mark that means it's required. You can then click on [Permission!] for example and this will show you all of the permissions you can apply to this role.
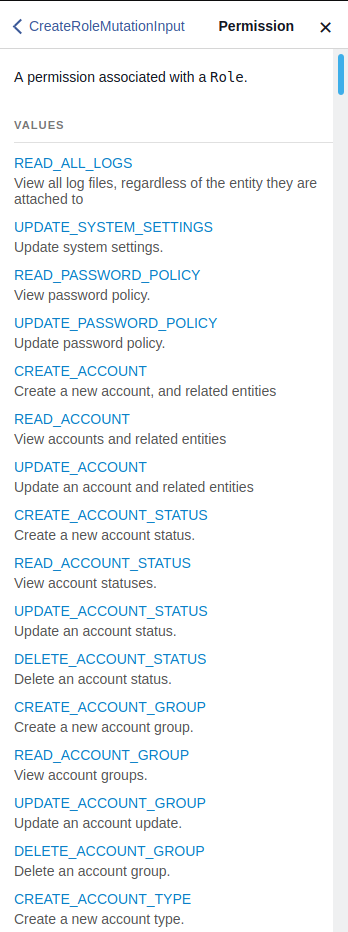
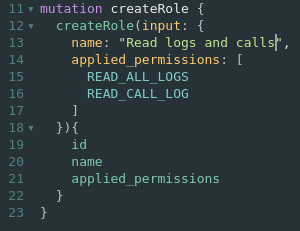
Now let's apply the READ_ALL_LOGS and READ_CALL_LOG to this new role using the following command:
mutation createRole {
	createRole(input: {
    name: "Read logs and call",
    applied_permissions: [
      READ_ALL_LOGS
      READ_CALL_LOG
    ]
  }){
    id
    name
    applied_permissions
  }
}
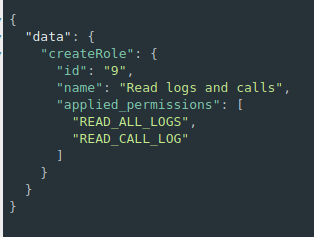
When you click submit on this mutation, you'll get returned the id, name, and applied_permissions. Keep in mind under the second {} brackets is what you want returned. You could simply just return applied_permissions. Also within the applied_permissions it's an array since this takes an array of enums.
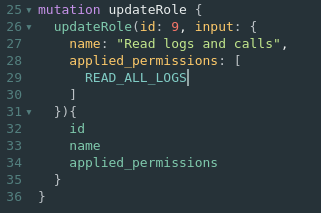
Updating a Role
Now that we have created this new role. Let's say we want to remove the READ_CALL_LOG from this role. You'll need to know the ID which we have on this return. So you can pull up the documentation for UpdateRoleMutationInput and see what can be applied. In this case, it's a similar format:
mutation updateRole {
  updateRole (id: 9, input: {
    name: "Read logs and calls"
    applied_permissions: [
      READ_ALL_LOGS
    ]
  }){
    id
    name
    applied_permissions
  }
}
Now once you apply this it will update the permissions and you'll receive the following;
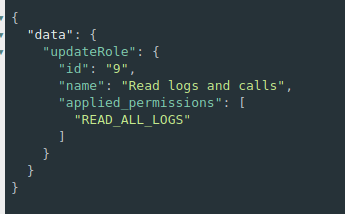
Now, this role only has READ_ALL_LOGS.
Role Deletion Example
Now let's say we need to delete this role. We created it in error. If you look in the documentation the deleteRole only requires an ID which we have from above ID 9.
mutation deleteRole {
  deleteRole(id: 9){
    message
    success
  }
}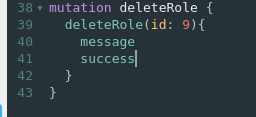
Let's go ahead and submit and get the results.

Now you've successfully deleted the role.
Searching and Filtering
Using the GraphQL API to filter through the information in your instance is both simple and complex due to how deeply GraphQL can parse the information. This section will cover 3 different scenarios of how GarphQL can be used to filter information.
Specifying an Input Filter
This is the simplest approach to filtering, using a basic input filter to narrow down the results returned by the GraphQL API:
query {
  accounts(account_status_id:1) {
    entities {
      id
      name
      account_status {
        id name
      }
    }
  }
}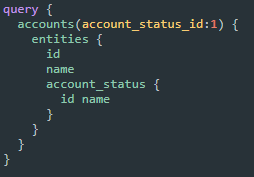
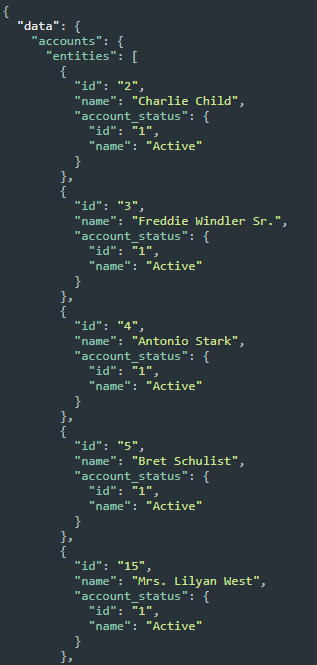
In this example, we're querying all accounts with an account status ID matching the filter we've selected - in this case, id "1". Submitting to get the results will give a list of all accounts in the instance that have the desired account status:
Specifying One or More Search Parameters, With or Without Defining an Array
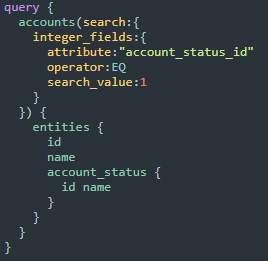
- Search specifying only one parameter. In this example, it's no different than the first search, but it is more flexible because you could define things such as
operator: LEQ, etc.:query {
accounts(search:{
integer_fields:{
attribute:"account_status_id"
operator:EQ
search_value:1
}
}) {
entities {
id
name
account_status {
id name
}
}
}
}
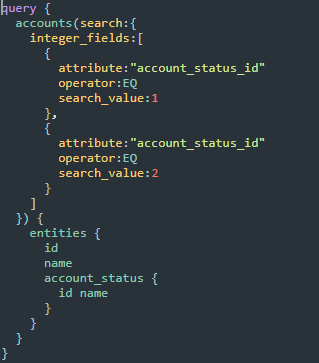
- Searching for more than one value, which will OR the options if they specify the same attribute, but AND them if they specify different attributes.The AND/OR system with GraphQL depends on the field and the operator.
- Specifying the same attribute with OR:
query {
  accounts(search:{
    integer_fields:[
      {
        attribute:"account_status_id"
        operator:EQ
        search_value:1
      },
      {
        attribute:"account_status_id"
        operator:EQ
        search_value:2
      }
    ]
  }) {
    entities {
      id
      name
      account_status {
        id name
      }
    }
  }
}
- Specifying different attributes (in this case,
account_status_id) will AND them (account_status_ids are OR'ed, andidis AND'ed withaccount_status_ids):query {
accounts(search:{
integer_fields:[
{
attribute:"account_status_id"
operator:EQ
search_value:1
},
{
attribute:"account_status_id"
operator:EQ
search_value:2
},
{
attribute:"id"
operator:EQ
search_value:1
}
]
}) {
entities {
id
name
account_status {
id name
}
}
}
}
- Specifying the same attribute with OR:
Using Reverse Relation Filters
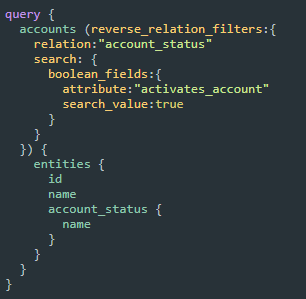
Reverse relation filters are an excellent way of arriving at a result based on some specific criteria, rather than on specific fields, such as the case in the previous examples. In this example, reverse relation filters are used to find all accounts that have an account status that activates an account.
query {
  accounts (reverse_relation_filters:{
    relation:"account_status"
    search: {
      boolean_fields:{
        attribute:"activates_account"
        search_value:true
      }
    }
  }) {
    entities {
      id
      name
      account_status {
        name
      }
    }
  }
}
Submitting this query will return a list of accounts matching these parameters. Unlike scenarios 1 or 2, these results won't be limited to specific account status IDs. You can also think of reverse relation filters as a "multi-level search".