Table of Contents
The New Sonar API
 Updated
by Jennifer Trower
Updated
by Jennifer Trower
Read Time: 13 mins
Welcome to the first part of the Sonar GraphQL API series. In this set of articles, I’ll teach you how to use the new, powerful GraphQL API that underlies Sonar, and show you all the amazing things you can do with it.
Why GraphQL?
When I started work on the newest version of Sonar, I knew that improving the power of the Sonar API was one of the highest priorities. The API underlies everything we do — the entirety of the Sonar user interface is built on top of the API that I’m going to describe in these articles. There is nothing you can’t do with the API that we can do in the application — everything is fully exposed. This meant that I had to make sure our API was extremely powerful, flexible, and performant — if not, the application itself would suffer.
GraphQL is a query language for an API. It was designed by Facebook to help them solve the issues they were having with their platform. People quickly embraced it due to the power and flexibility offered — you can see a short list of some of the companies using it on the GraphQL website.

What’s a ‘Query Language for an API’?
The original API in Sonar was a REST API. This is the most common type of API nowadays and it typically follows some standard conventions. The choice of HTTP verb defines the type of action you are taking — for example, a GET fetches data, while a POST submits a data, and a DELETE deletes data. Commonly, the URL structure of the request defines what you are interacting with — for example, a GET to /accounts would fetch all accounts, a GET to /accounts/1 would fetch the account with ID 1 and a DELETE to /accounts/1 would delete the account with ID 1. This is simple to use and understand, and it quickly became a common API to see in the wild.
The problem with this type of API is when you want to go beyond this point. What if I want all accounts where the ID is greater than 100, or all accounts that owe more than $50 on their bill, or all contacts with an email address ending in @gmail.com? Typically, there is no standard way to submit these kinds of queries in a REST API, so someone implementing the API either has to come up with a non-standard way of doing it, or, more commonly, the consumer of the API has to fetch all the data, and then parse it to find the entries they want. Even if the API offers some functionality to do this, combining these types of queries becomes very challenging — I have yet to find a REST API where I can perform a query like ‘Fetch all accounts with an ID greater than 100 that owe more than $50 on their bill, and have a contact with an email address ending in @gmail.com’.
What this means is that, for many applications, there’s an internal, private API that returns the complex data needed for the application, and a public API that returns data in a typical REST format. This is fine, until it’s not. Once a consumer of the public API wants to query complex data, they are often left fetching huge amounts of data, and filtering it, which is bad both for the consumer, and the application.
This is where GraphQL comes into play. When GraphQL describes itself as a ‘query language for an API’, it means that it is describing a format for constructing API queries to get back only the data you want. The GraphQL standard itself doesn’t describe how searches and filters are constructed, but it does describe what a GraphQL query looks like, and this means it’s very easy to continue to build onto your API in a clean and consistent way. We’ve spent a lot of time building many powerful functions into our GraphQL API, and this series of articles will describe them all.
Getting Started
If you’d like to join in, navigate to /graphiql in your Sonar v2 instance (e.g. https://example.sonar.software/graphiql). If you don’t have a Sonar instance yet, you can also view the documentation at https://api.sonar.software.
The GraphiQL tool offers a way to interact with the Sonar API, as well as view all the documentation.
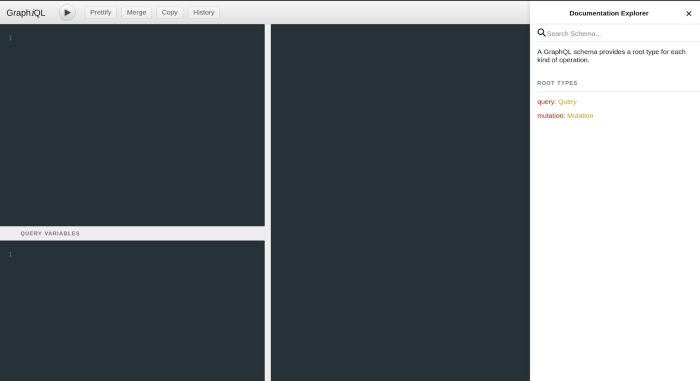
If you don’t see the documentation explorer on the right, just click Docs in the upper right to show it.
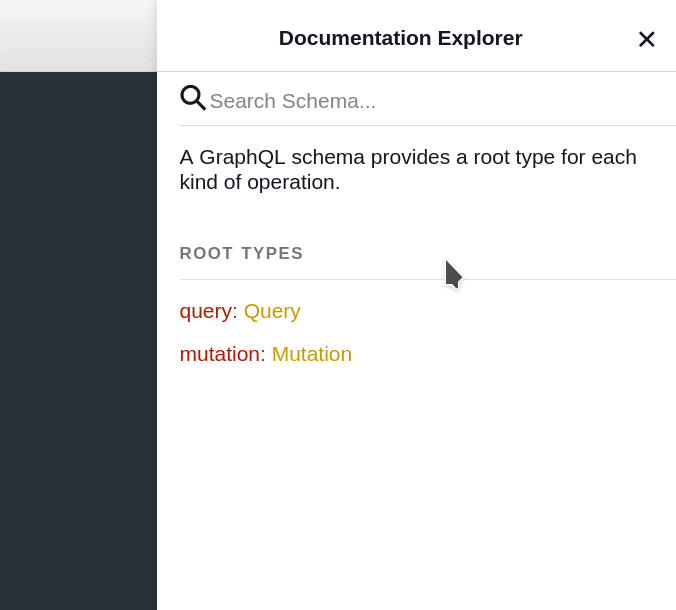
To get data from a GraphQL API, we need to submit a Query. There are only two root types in our GraphQL API — a query or a mutation. A query fetches data, and a mutation manipulates data.
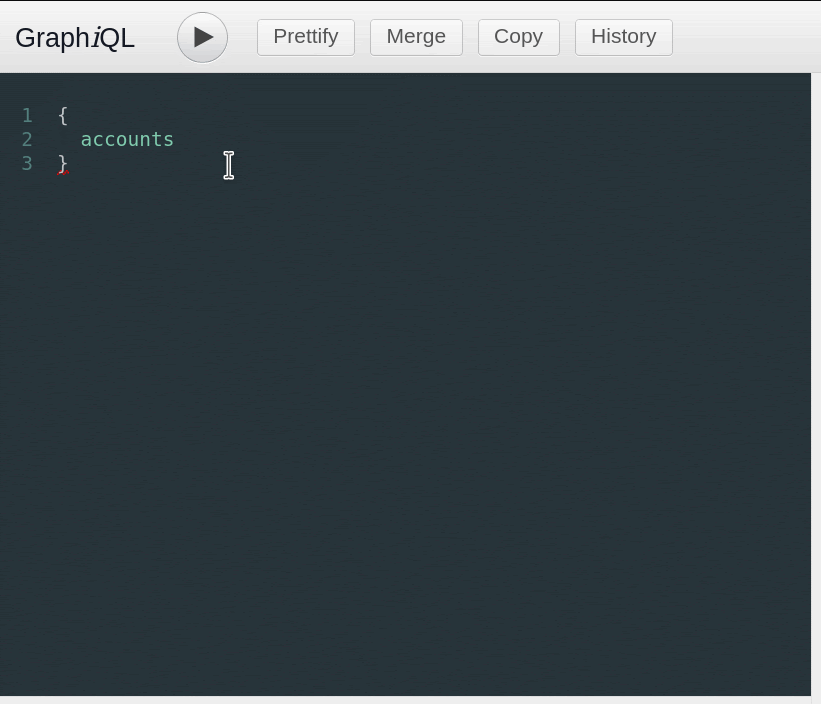
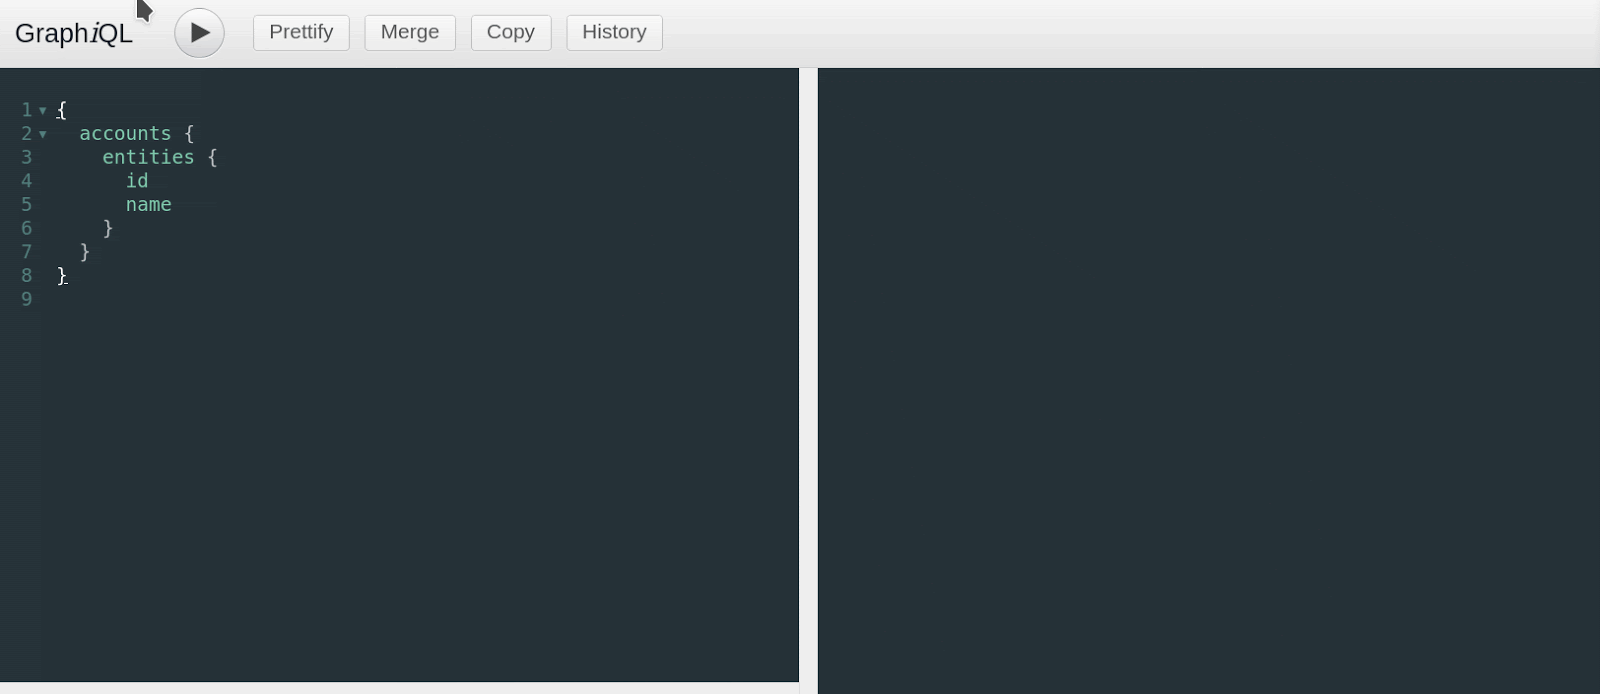
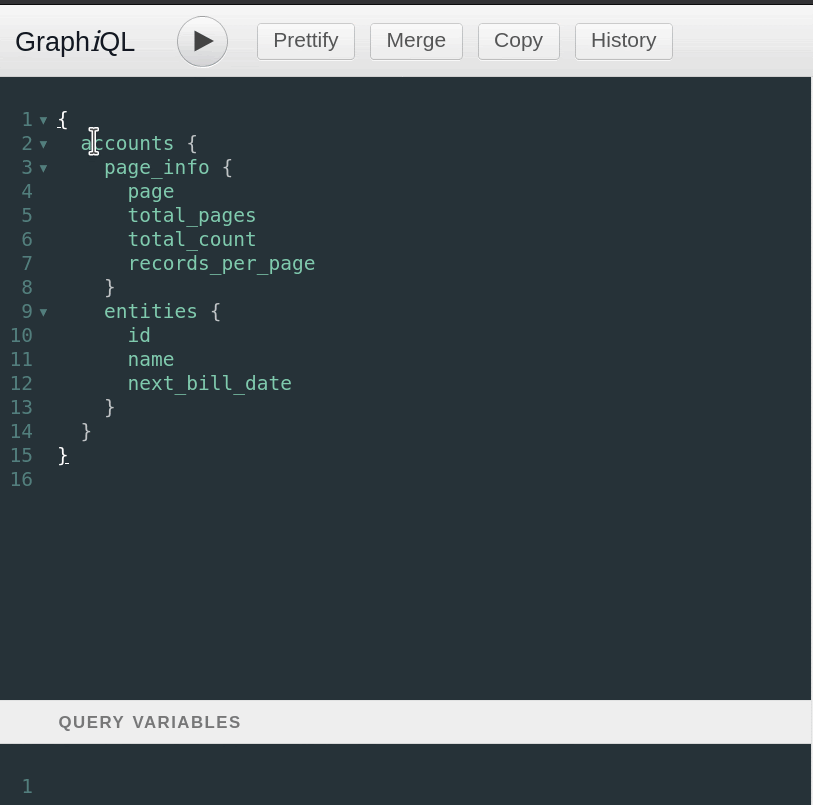
Let’s start by constructing a very simple query. I want to get a list of all the accounts that I have in Sonar. If you click on Query on the right, you’ll see a list of all the possible queries in Sonar — there are a lot!
The one we’re looking for is accounts. You can scroll down through the list to find it, or use the Search Query box at the top to look for it.
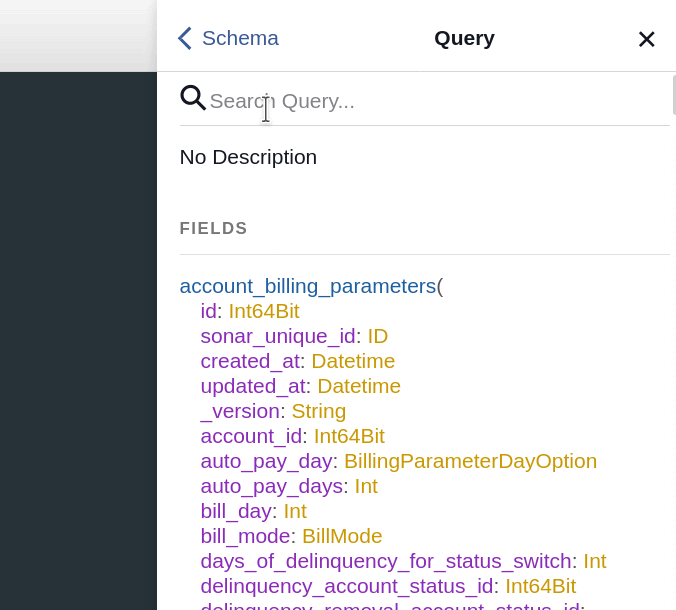
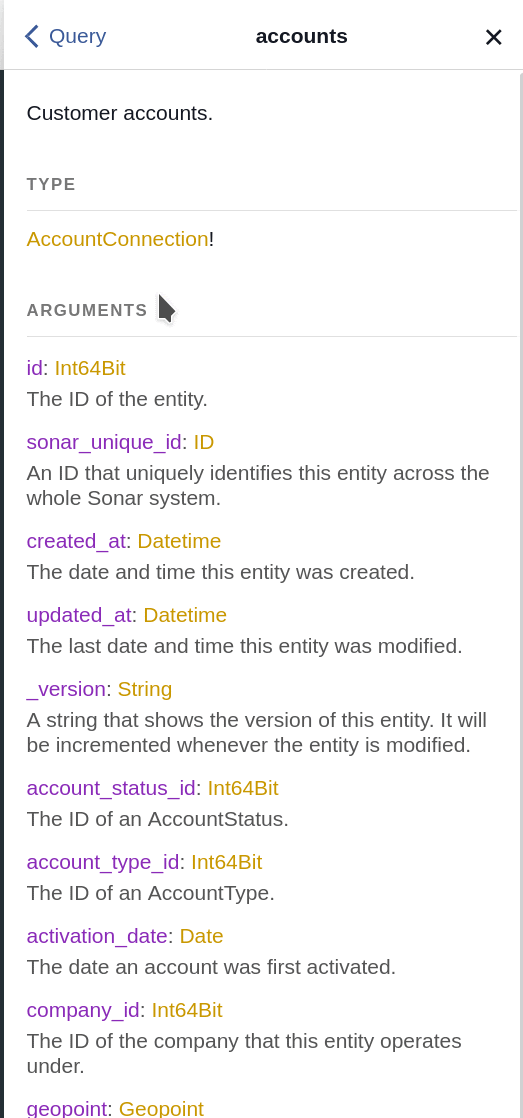
Before going any further, let’s step through what’s shown in the documentation here once I find the accounts query.
At the very top of the documentation pane is the description of the query. This one says Customer accounts, showing that it returns records of customer accounts. The Type is shown as AccountConnection!. The exclamation point at the end means that this is always returned — it’s required, and cannot be null. This is a convention throughout the whole API — any time you see anything suffixed with an exclamation point, you know that it will always be there, or is always required. If something does not have an exclamation point, then it can be null, or not included.
Below this, there is a heading titled Arguments that shows a list of the arguments we can enter into the query. But let’s not get ahead of ourselves — right now, we just want to get all the accounts in the system, so let’s start by constructing that query. By searching for this query, we saw that the query name is accounts, and that’s the start of what we need. On the top left side of the screen is an area where we can construct a query, so let’s start building our accounts query.
As you can see, this tool is really powerful already — it offers autocompletion as we type, and you may have noticed the red underline on the bottom curly brace. This shows our query is not currently valid, and we need to do some more work to get there.
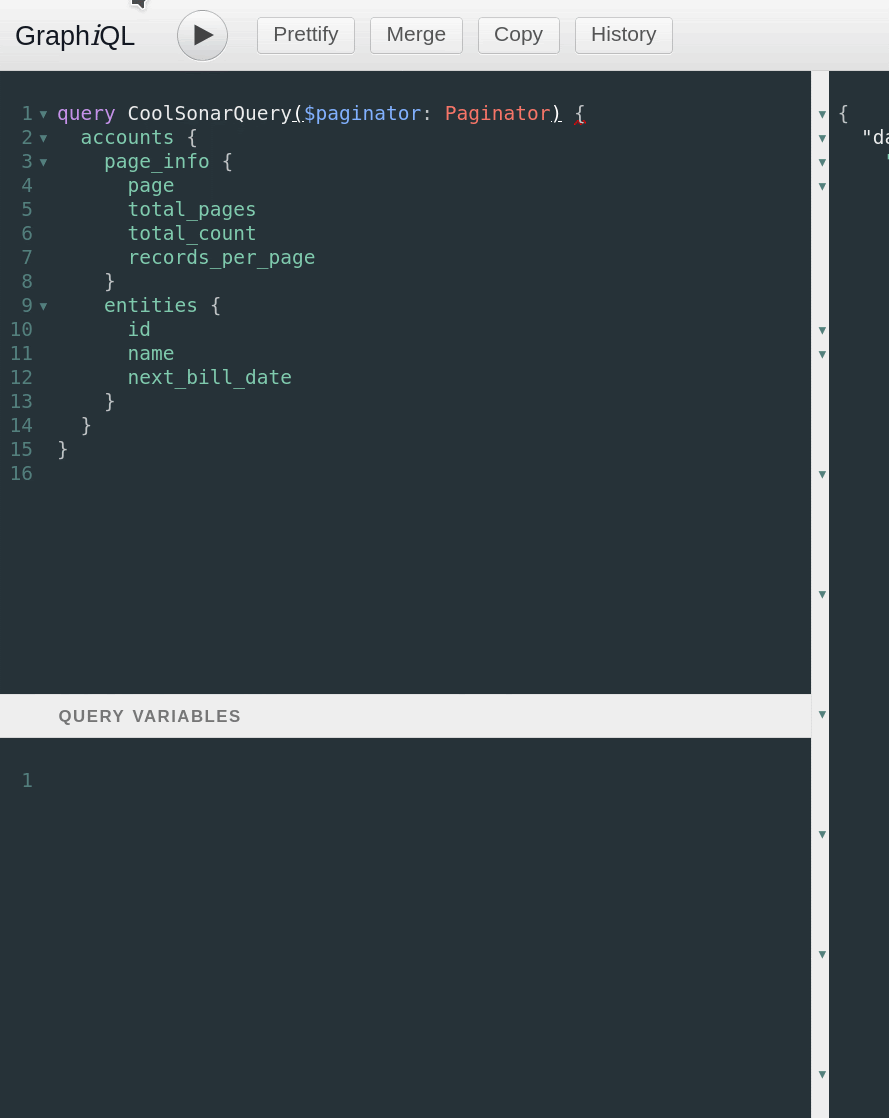
One of the powerful things about GraphQL’s query language is that it lets us describe the data we want back ourselves. This means if all we want to fetch is the account ID and name, we can do that. Let’s do that now.
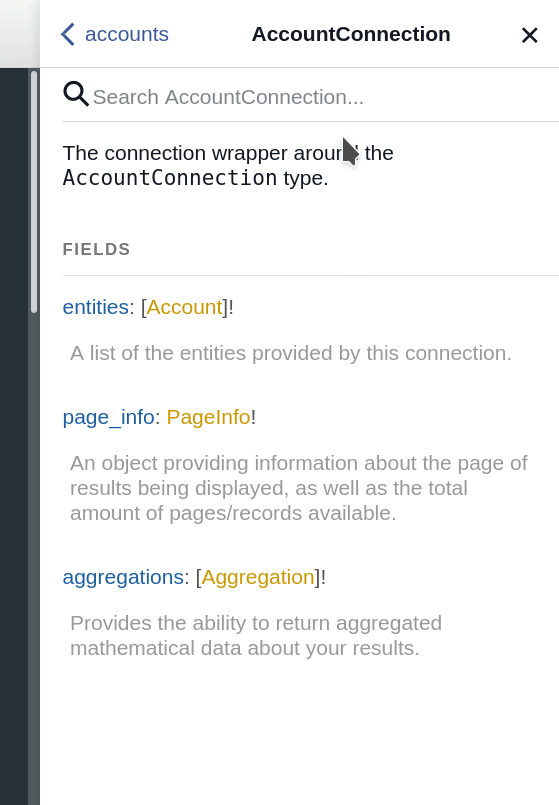
In the documentation on the right, under Type, it says AccountConnection! As described before, the explanation point means this will never be null — we can expect to always receive an AccountConnection object in response to this accounts query. Let’s click on the AccountConnection text in the documentation to see what the response looks like.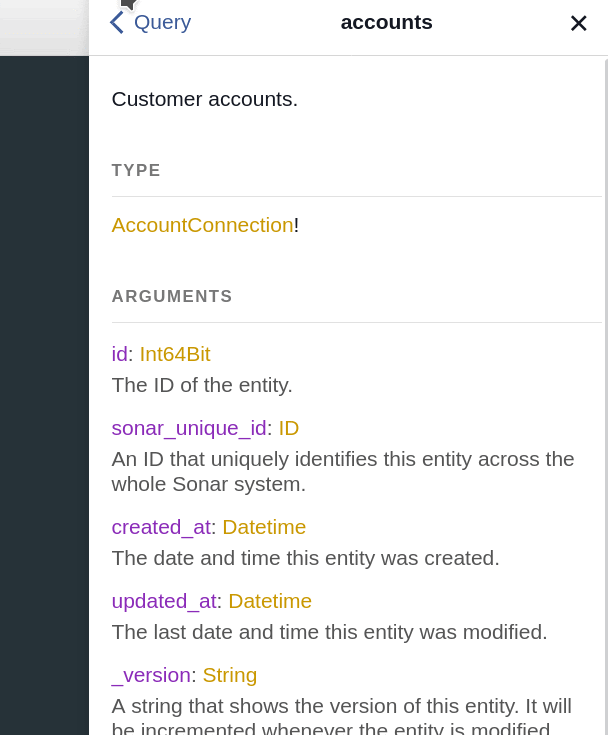
We can see here that there are three properties within the AccountConnection object. Those properties are entities, page_info and aggregations. Each property has a description associated with it — for example, the entities entry is described as ‘A list of the entities provided by this connection.’ In Sonar parlance, an entity is a single object representing something — for example, an account, a contact, a payment, or a credit card. Since what we want to get right now is a list of the accounts, let’s focus on the entities property and ignore the others until later.
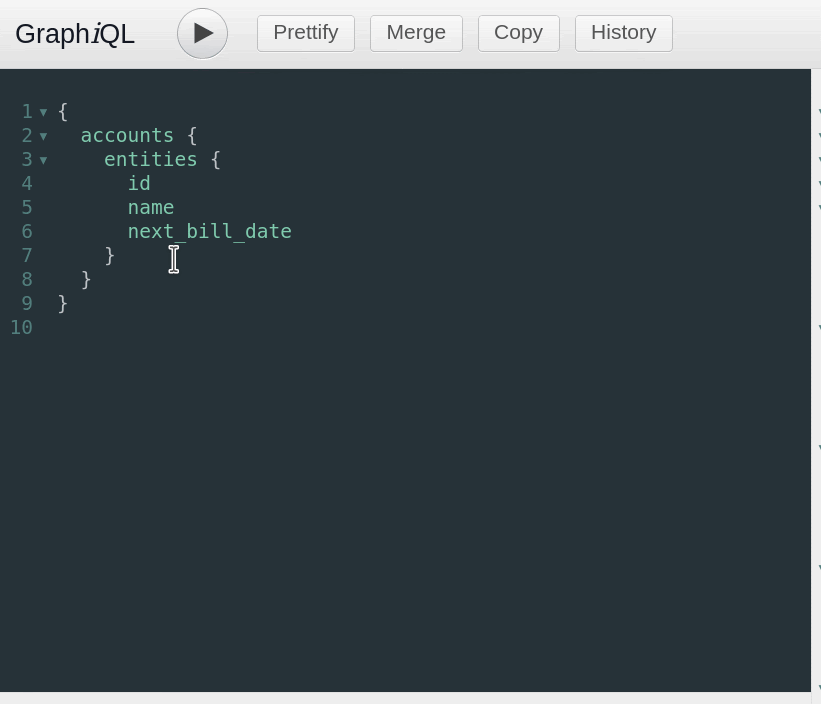
The entities property is shown with a value of [Account]!. If you remember our earlier discussion, the exclamation point means that this response will never be null. Because the exclamation point is outside the square brackets, this means the square brackets themselves are what the exclamation point is referring to. The square brackets represent an array, or a list of data, so we can infer here that we will always receive an array if we request the entities property. The text inside the square brackets tells us what object(s) will be inside the array. In this case, it’s an Account object. Before we go any further, let’s build up our query to get the entities property.
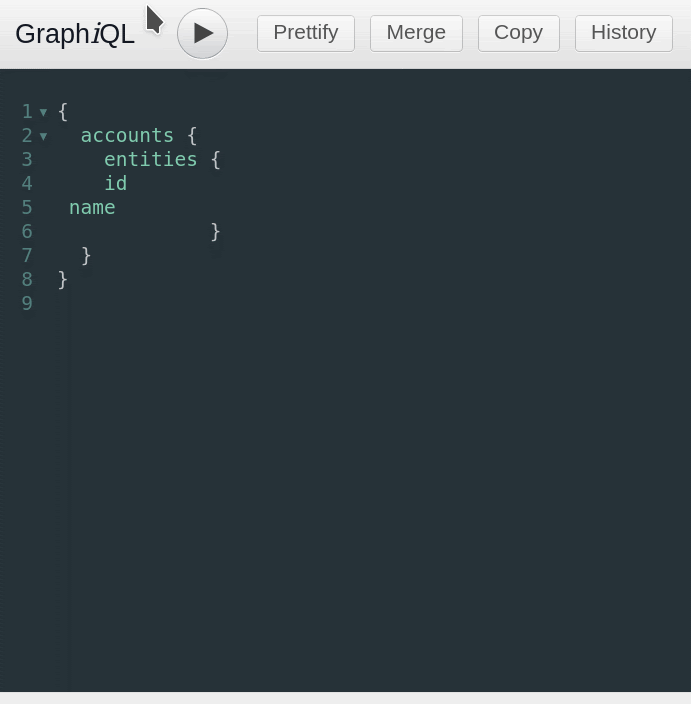
We’re almost there! The last piece we need is to define what properties we want to get back from the account object. Let’s click on the Account object in the documentation to see what our options are.

This is a pretty complex object with a lot of options. Let’s ignore the Implements header for now and scroll down to Fields to see what fields the object has. There are lots of options there, with good descriptions of what each one is. For now, let’s grab the id and name fields.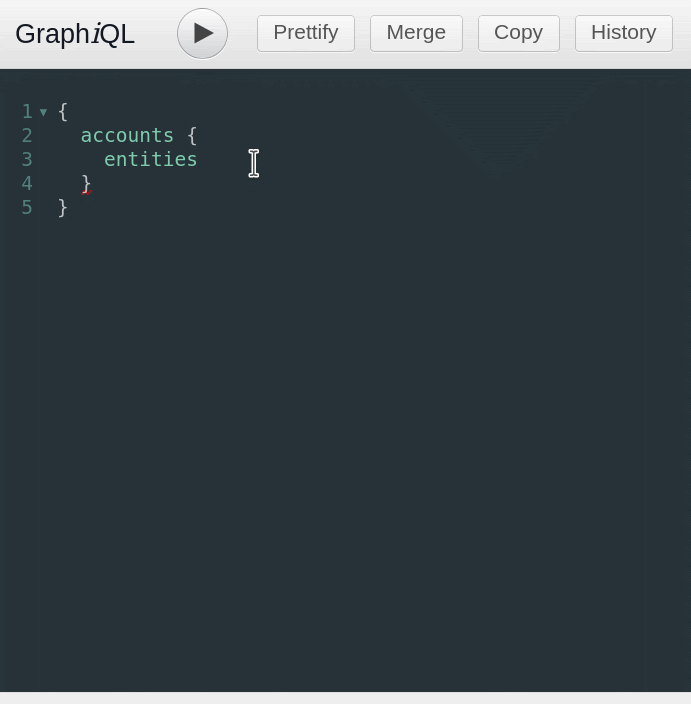
If your query gets a little messy, you can click Prettify up at the top, and it’ll straighten it out for you.
Now that we have our first query constructed, we can click the play button at the top to run it.
We’ve now built our first query. Let’s move on!
Pagination
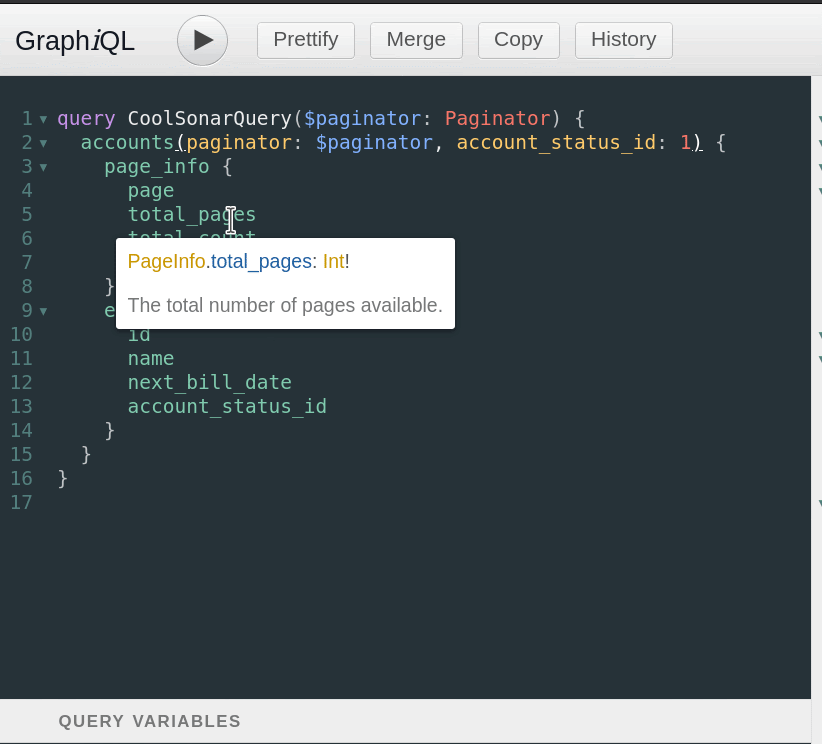
If we want to get all accounts, we need to know how many there are, and when we’ve fetched them all. If we step back to the AccountConnection object, the other two options besides entities were page_info and aggregations. Let’s start by adding page_info to our query.
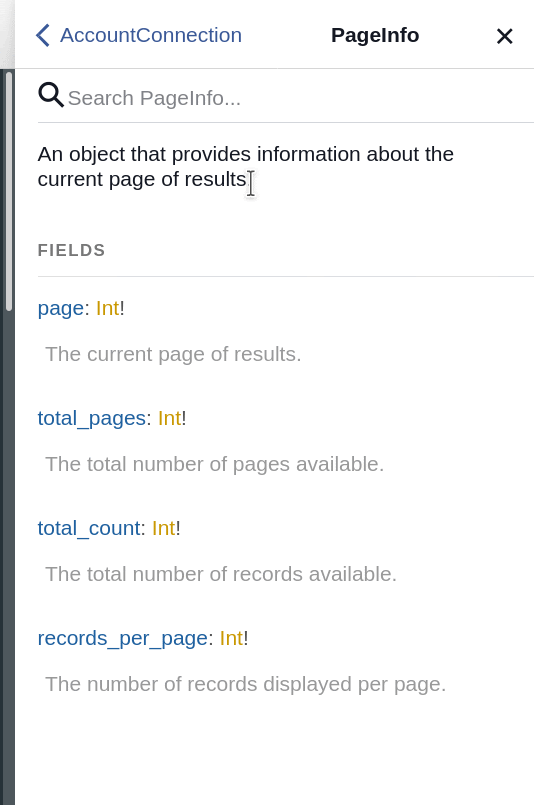
Just like the entities part of the query, we need to specify what values we want to get back in our page_info object. Back to the documentation!
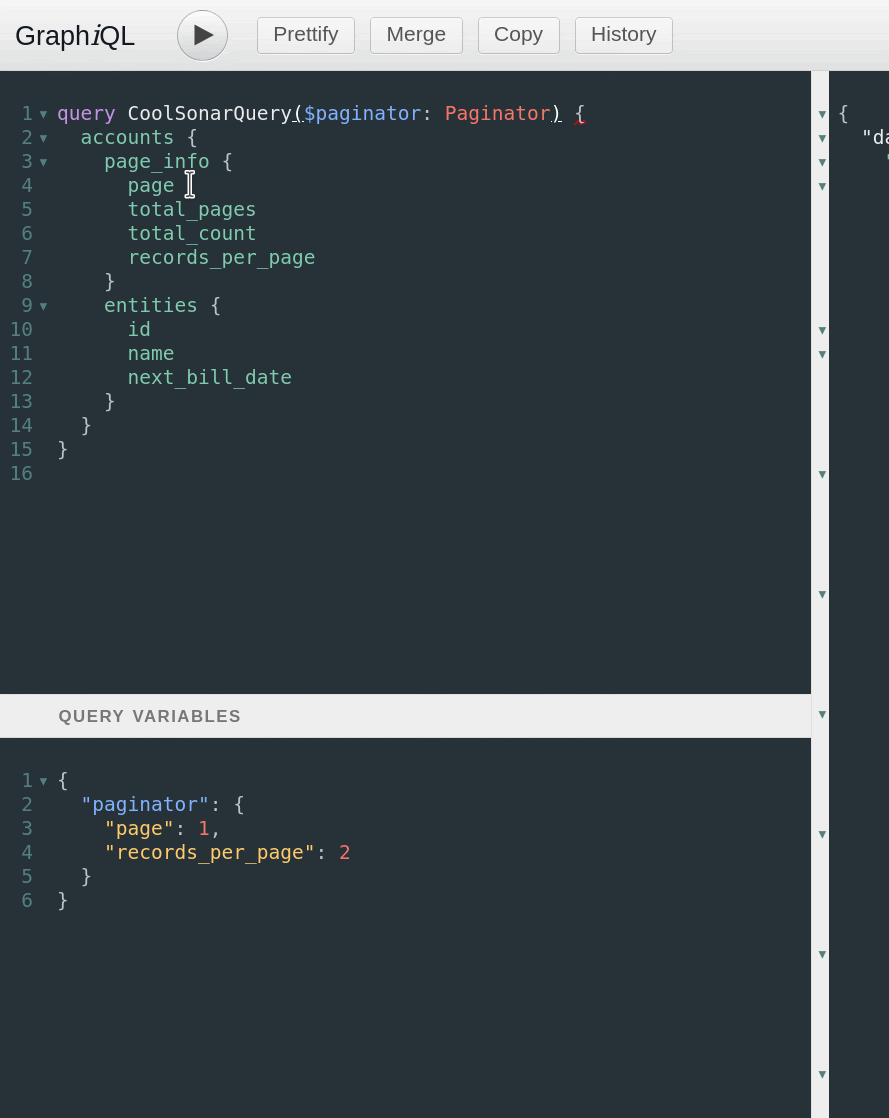
There are four properties we can grab from the page_info property — page, total_pages, total_count and records_per_page. These all return an Int, which is an integer (a whole number). Let’s add all of these to our query.
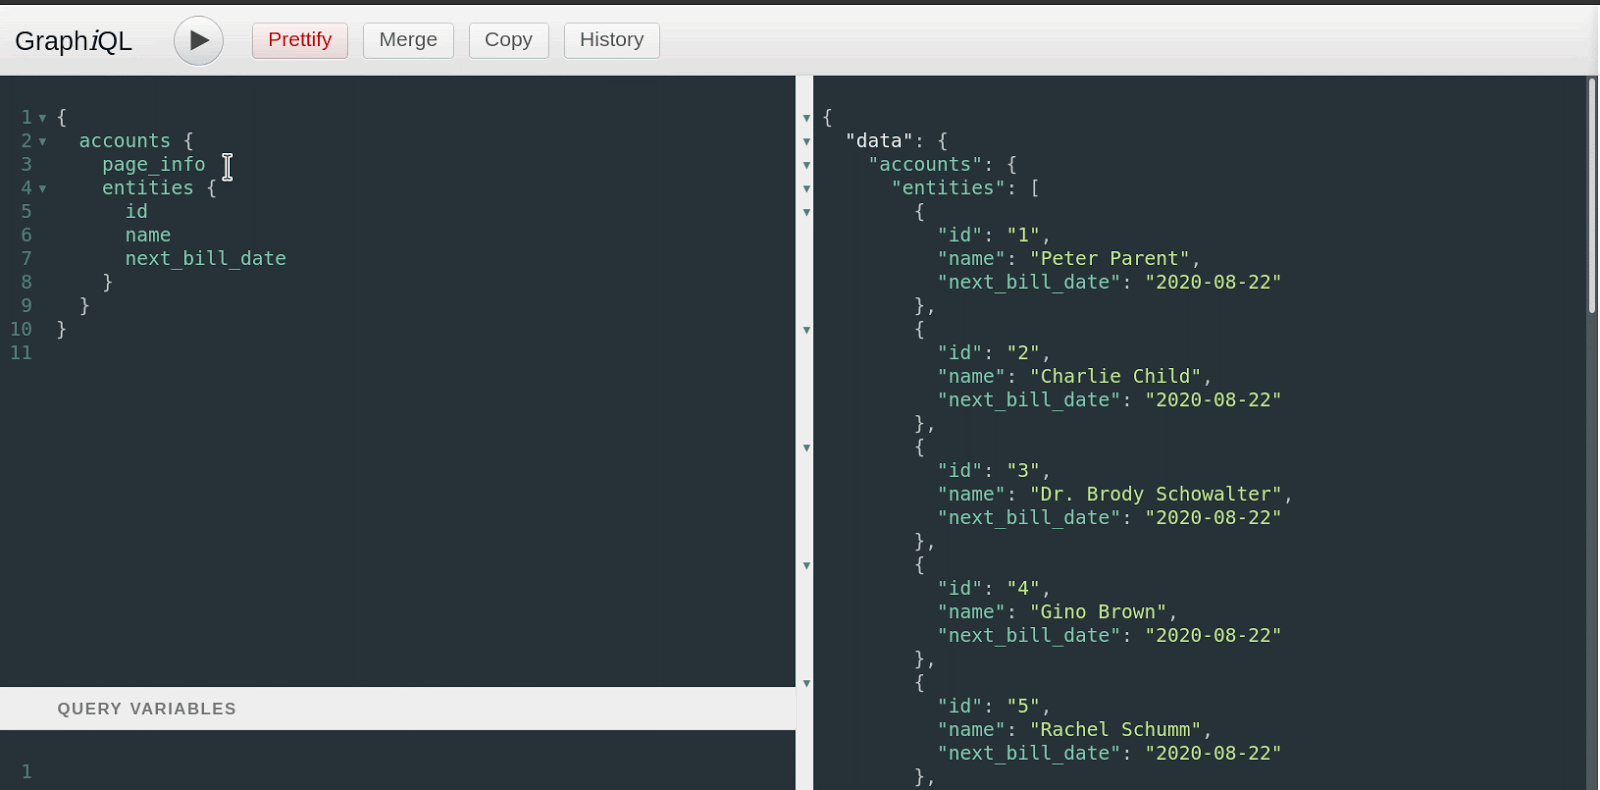
With our current query, there are 1903 items (total_count is 1903) and we’re getting back 100 items per page. This means we either need to request more items at once, or increase our page size. Time to learn how to submit arguments into the query!
Arguments
To submit an argument, we need to restructure our query a bit. Right now, we have a very simple query, but what we really want is to name our query. Naming the query allows us to submit variables into it, and even lets you submit multiple queries in a batch.
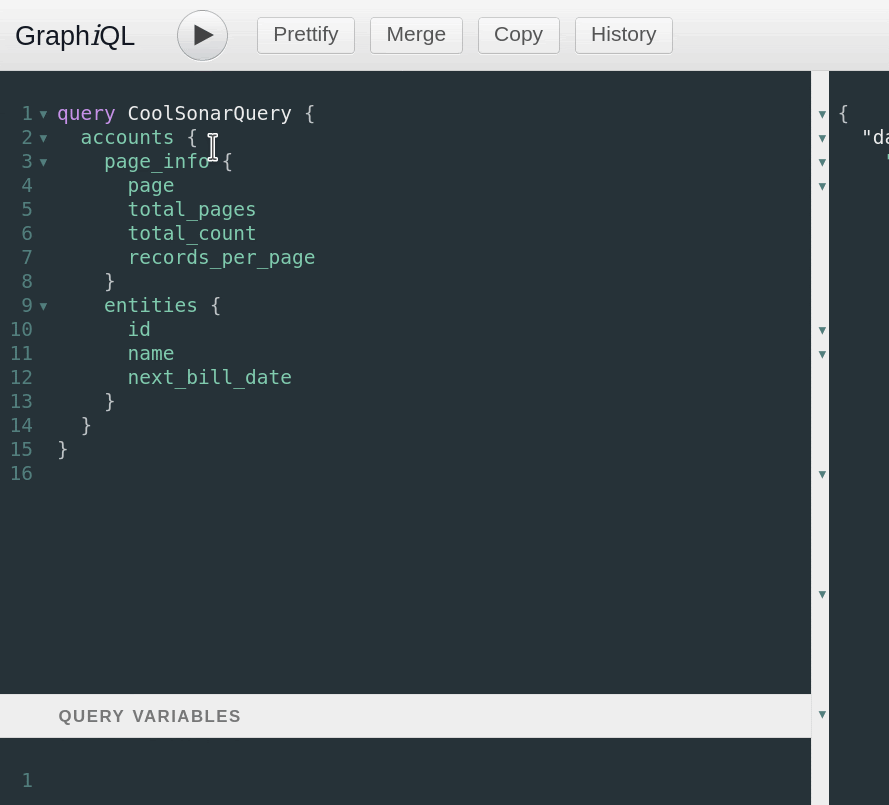
Naming a query is simple — we just add a name to it! The name must be prefixed by query when we’re performing a query. Let’s name this one CoolSonarQuery. To name a query, we wrap the entire query in the name definition using curly braces.
If you run this query again, you’ll get the exact same result we got before. Now it’s time to build up our arguments.
If we back up in the documentation to the accounts query, we can see the list of arguments that the query accepts.
Since we want to modify the pagination, let’s look for something relevant. Looks like there is a paginator argument that takes a Paginator object.

By clicking on the Paginator object, I can see the inputs required.
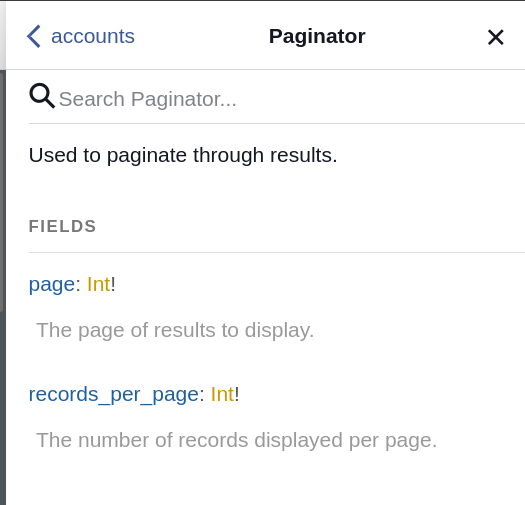
Since both of these are suffixed with an exclamation point, the values are both required if I submit this object. Let’s do that now.
First, we need to specify the object in our named query as a variable. Next, we need to use this variable to submit it into the accounts query. Looking back at the documentation above, the argument is paginator and the requirement is a Paginator object. First, let’s name our variable.
As you can see, we do this by opening parentheses on our query name, specifying a variable name, beginning with a $, and then defining what type of object the variable is. Next, we need to actually define this variable in the Query Variables section below. Variables are defined in a standard JSON format.
Finally, we need to use this variable in the query itself. One of the arguments to the accounts query was paginator, so let’s plug that in.
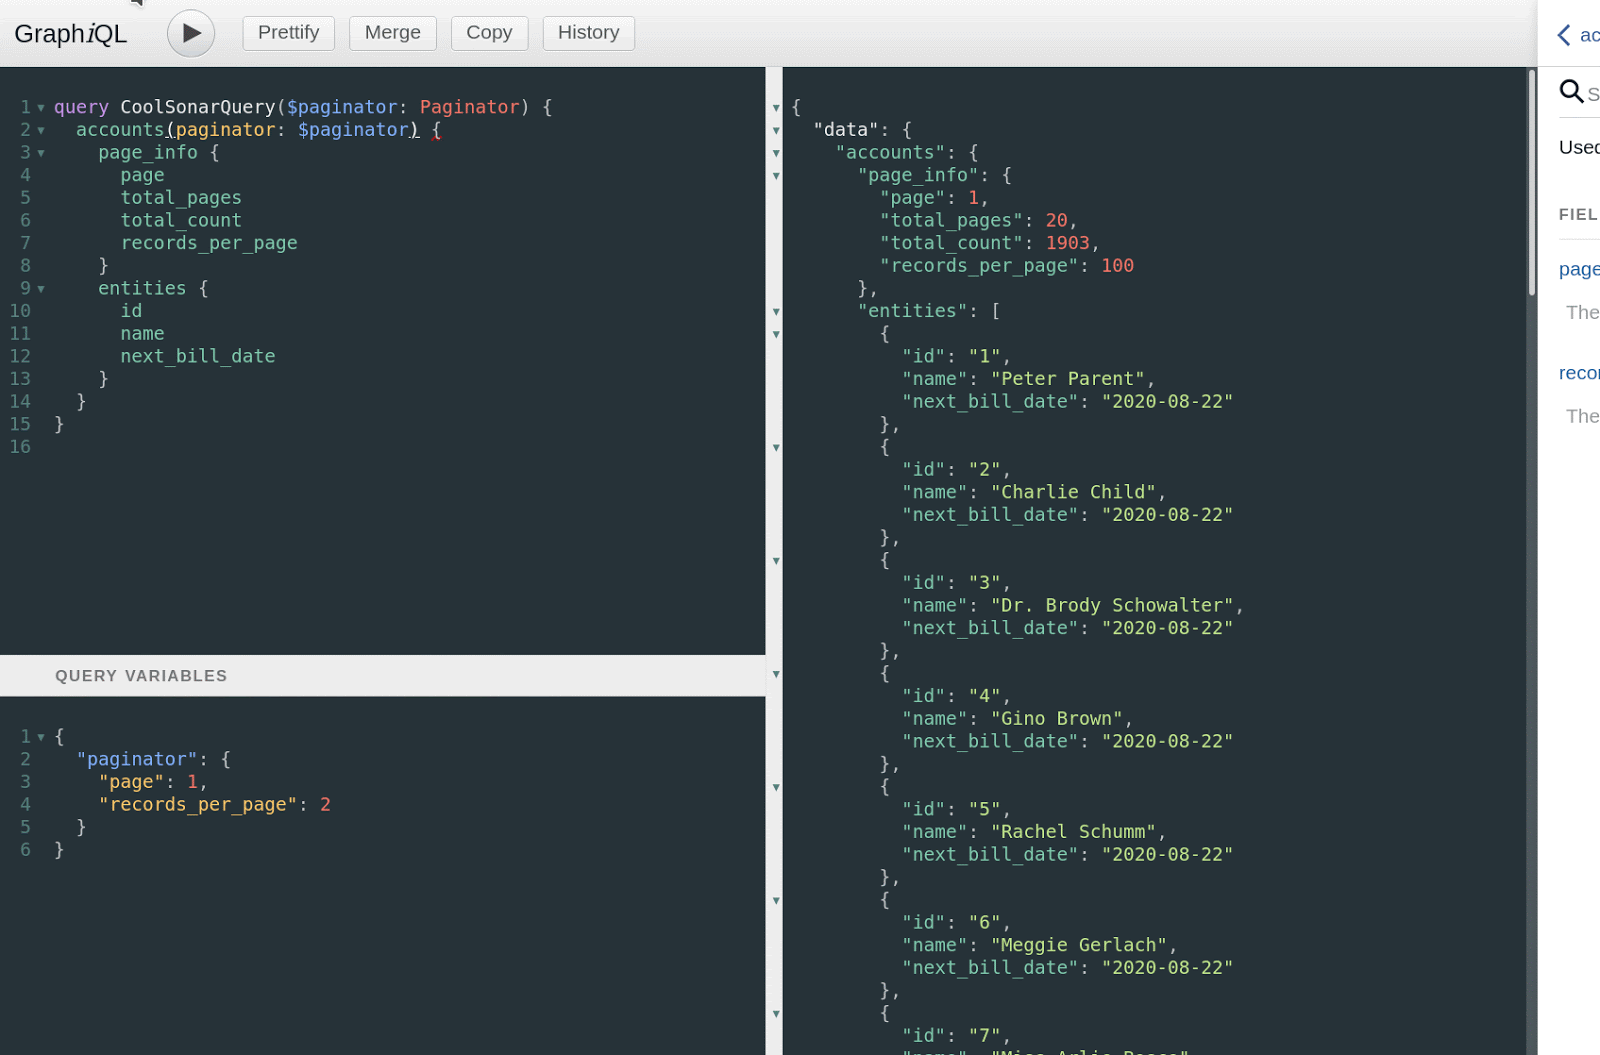
Finally, let’s run our query again — this time we should get back the first page, with only two records in it.
Other Arguments
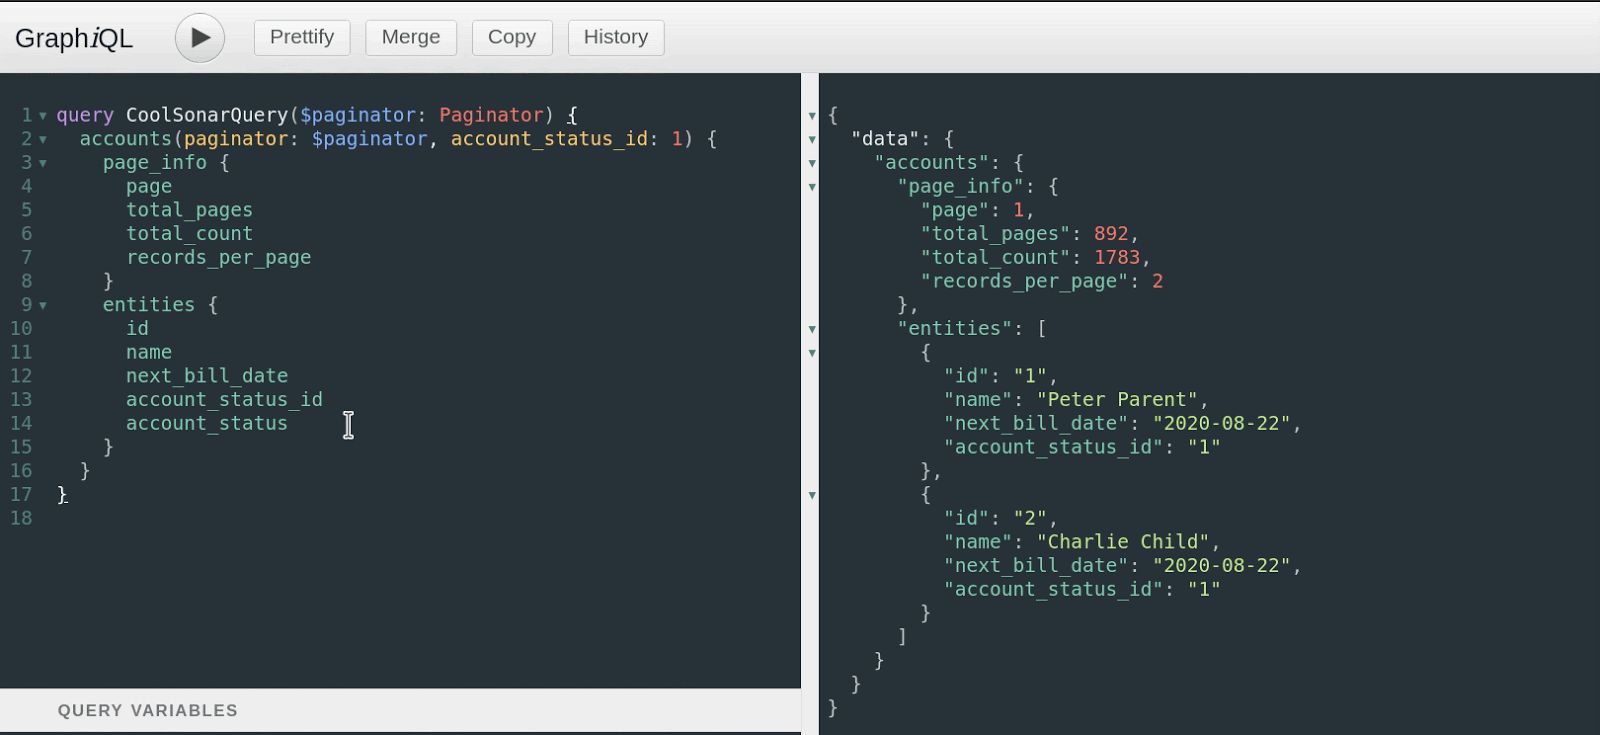
Referring back to the documentation, you may notice there are many other arguments we can input. Some of these are objects, like the Paginator object, but some are simpler things, like a string, integer or date. When using simpler inputs, we can define them in the variables if we want to, but it’s also possible to submit them inline. One of the other options we have is to input an account_status_id which is an integer. Let’s give that a try. First, we’ll add account_status_id to the fields returned, so we can see it in the query results, then we’ll add it as an input argument.
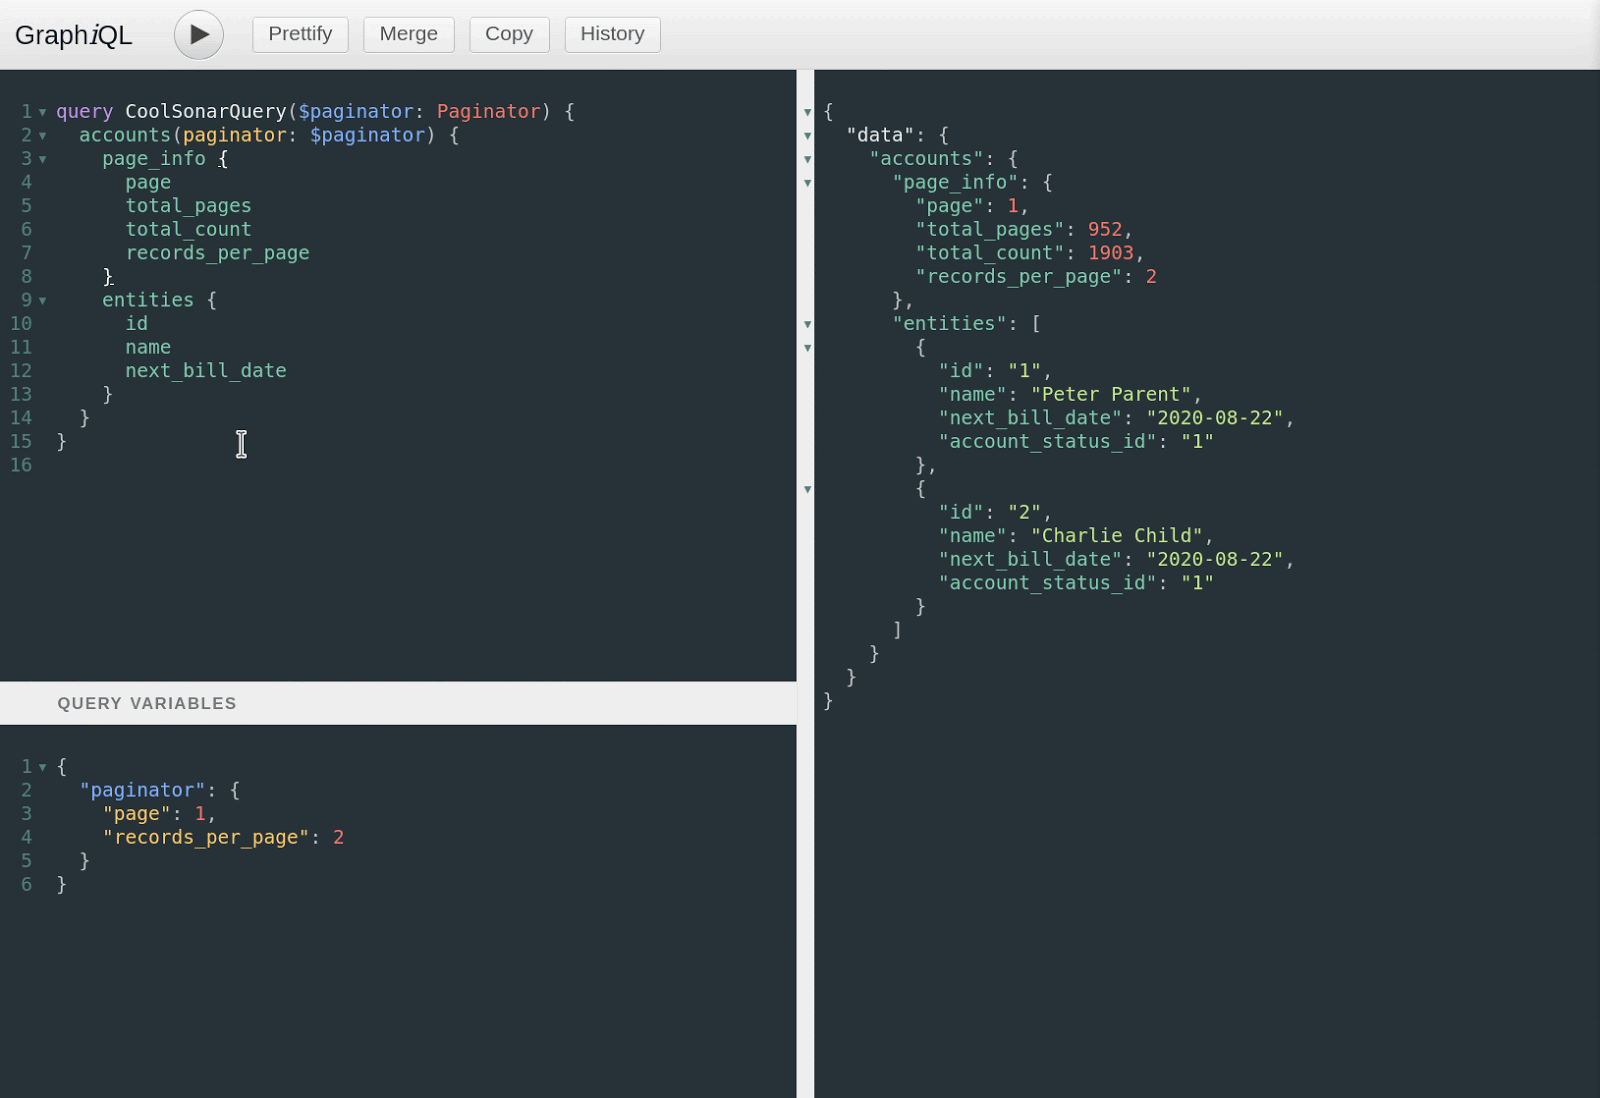
This didn’t change the look of my results much, as the two accounts I was getting both had this account status ID. However, you can see the total_count in the paginator result dropped from 1903 to 1783 — this is because there were 120 accounts excluded by this argument. Now you can start to see the power of this API — we can combine as many arguments as we want to limit the results, and we’re only just getting started! We’ll dig much deeper into the filtering and searching capabilities of this API later in this series, but hopefully you can already see the possibilities.
Relations
Another thing we can add into our query is relations. We filtered these accounts down to only fetch them if their account_status_id is 1, but what is that account status? Let’s go back to the Account object and look at the fields we can query.
While many of the fields on the Account object are simple fields that relate to the account (like the id, name or account_status_id, there are other fields that return objects. In this case, we’ve found one that returns an AccountStatus object, and the field is named account_status. Let’s start adding this to our query.
Next, just like we did when we built up the accounts query, we need to define the fields we want to get back. Back to the documentation to find out what our options are!
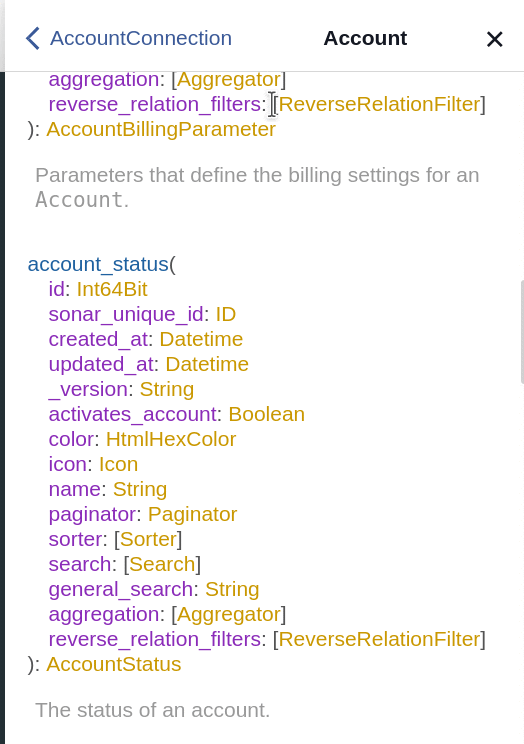
By clicking on the AccountStatus object, we can see all the fields that are available on it. Let’s grab the icon, color, and name.
Now our result includes the account_status relation for each account returned, and shows us the icon, color, and name for that account status. Pretty cool! You’re able to add as many relations as you want, and go multiple levels deep — you could now add relations to the account_status to get back other items related to it.
Wrapping Up
We’ve barely even scratched the surface of what’s possible with this API, but hopefully, this gives you a starting point to explore from. In the next article, I’ll show you how to construct more complex queries to really drill down into the specific data you’re looking for. Happy GraphQLing!