Table of Contents
Direct Messages: Overview
 Updated
by Jennifer Trower
Updated
by Jennifer Trower
Read Time: 8 mins
Direct Messaging in Sonar lets you send two-way emails and one-way SMS messages directly from the Account or Contact view. Every message is automatically logged and organized in your instance, making it easy to track and reference all correspondence in the future.
Permissions
Before you can begin using the feature, your user roles must be updated to include the permissions required for Direct Messaging.
This feature relies on the existing Mass Messaging and SMS Messaging permissions.
- Mass Messages: Create and view sent messages.

Permission Details
The Mass Message permissions category has two options.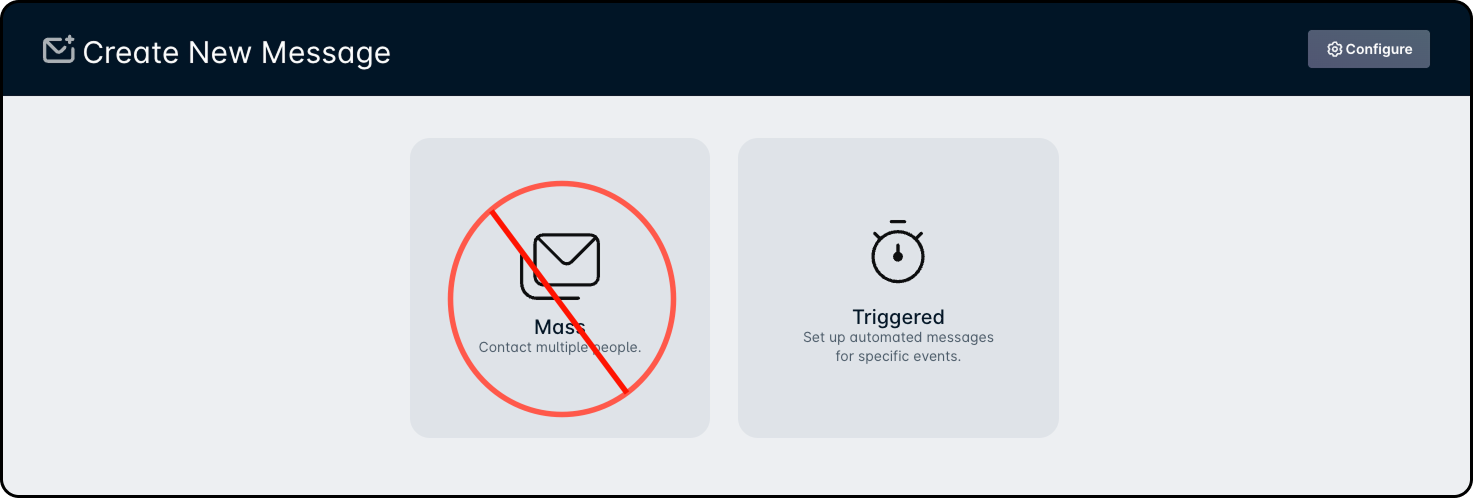
1. Create a mass email communication: If mass email communication is disabled, users will only be able to create triggered messages — the option to send a mass message will not be available.
2. View all mass emails: If this is disabled, users will be unable to view mass emails sent out. - Triggered Messages: Create, view, edit, and delete triggered emails or SMS messages.
Permission Details
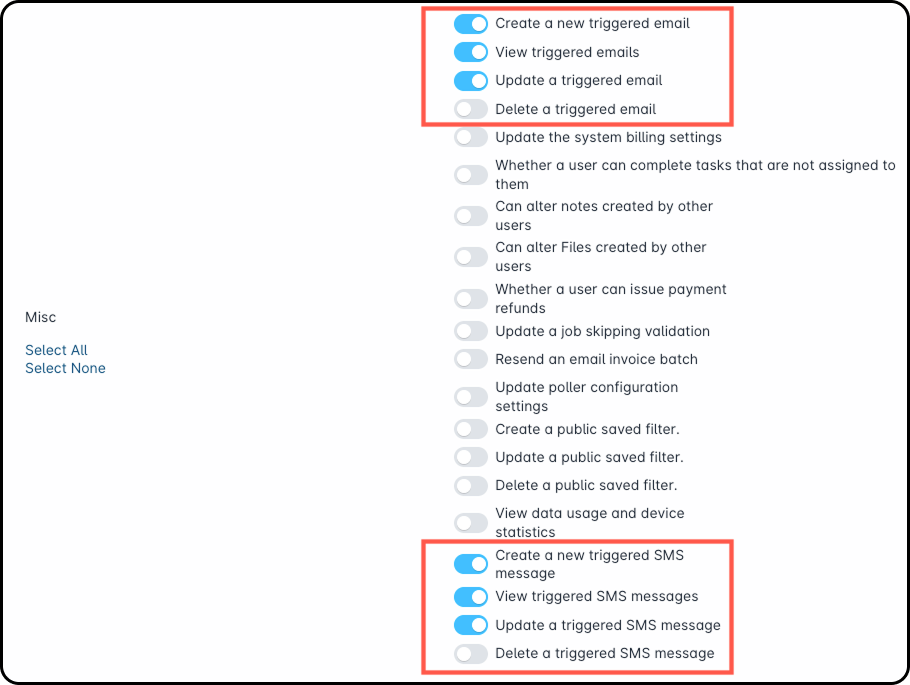
The Triggered Message category of permissions has four options for Triggered Emails and four options for Triggered SMS messages.
Triggered Emails:
1. Create a new triggered email: If this is disabled, users can’t create triggered messages — only the “Mass” option will appear when they select “New Message.”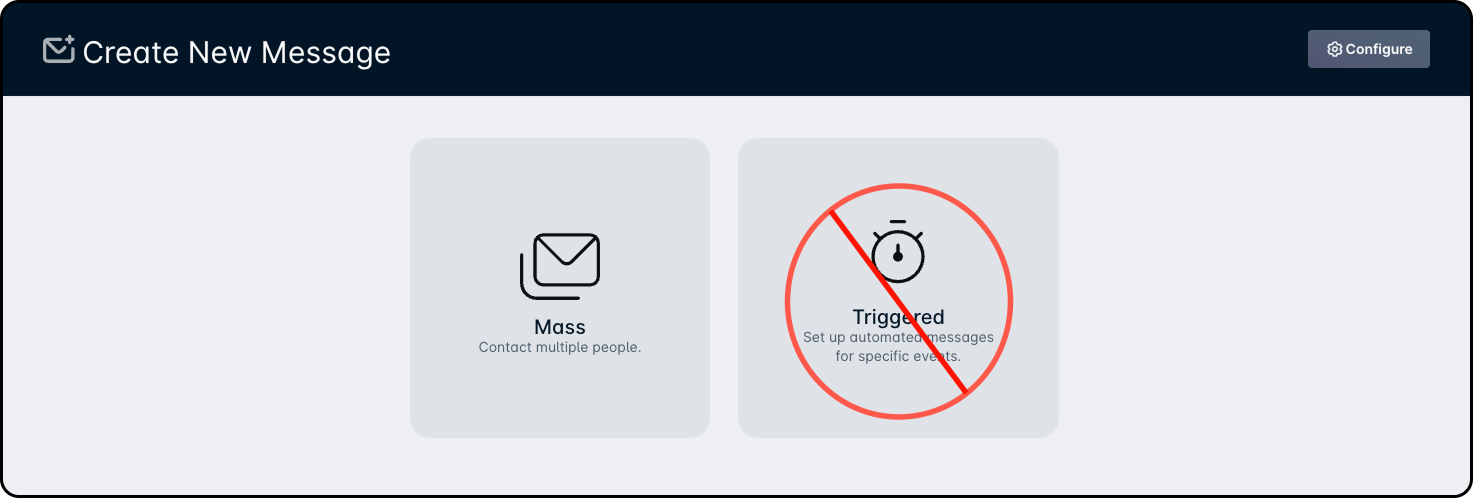
2. View triggered emails: If this is disabled, the “Triggered Messages” option under “Configure” won’t appear. Without it, users also won’t be able to edit or delete existing triggered messages.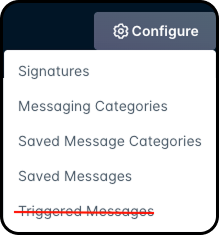
3. Update a triggered email: If this is disabled, users will only see the “Delete” option next to triggered messages — “Edit” won’t be available.
4. Delete a triggered email: If this is disabled, users won’t be able to delete triggered messages.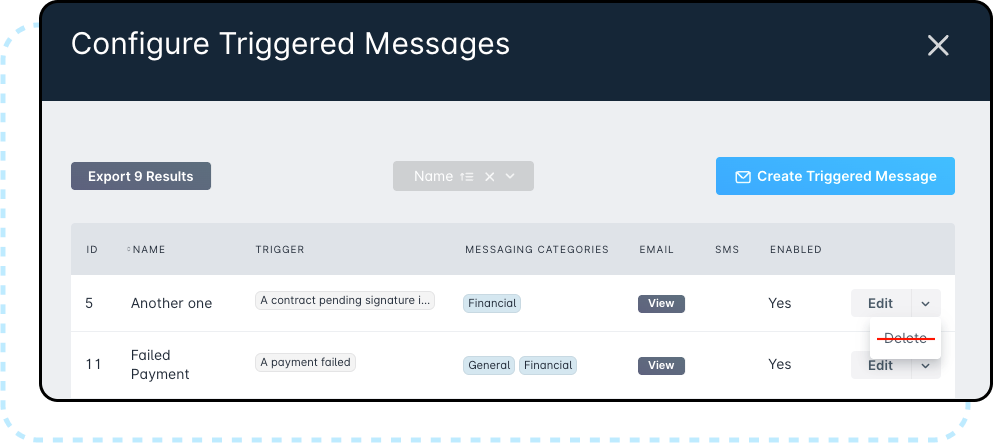
Triggered SMS messages:
1. Create a new triggered SMS message: If this is disabled, users can’t create triggered SMS messages — only the “Mass” option will appear when they select “New Message.”
2. View triggered SMS message: If this is disabled, the “Triggered Messages” option under “Configure” won’t appear. Without it, users also won’t be able to edit or delete existing triggered SMS messages.
3. Update a triggered SMS message: If this is disabled, users will only see the “Delete” option next to triggered SMS messages — “Edit” won’t be available.
4. Delete a triggered SMS message: If this is disabled, users won’t be able to delete triggered SMS messages. - Messaging Categories: Create, view, edit, and delete categories.

Permission Details
The Messaging Categories of permissions has 4 options.
1. Create a new messaging category: If this is disabled, users cannot see the option “Create Messaging Category”.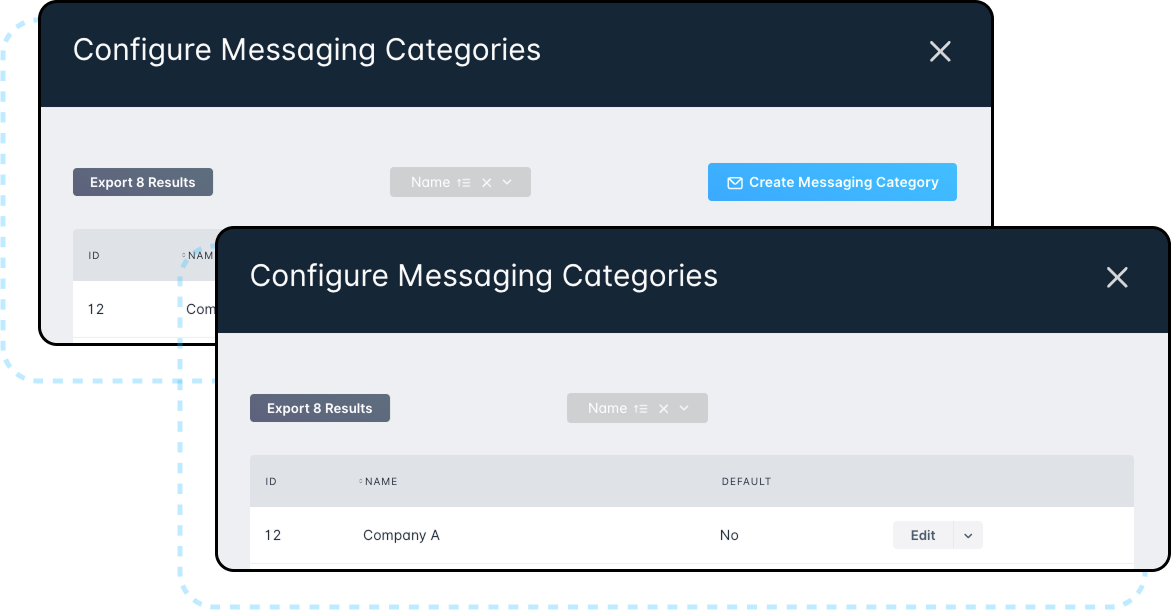
2. View messaging categories: If this is disabled, the “Messaging Categories” option under “Configure” won’t be visible. Users also won’t be able to create, edit, or delete messaging categories.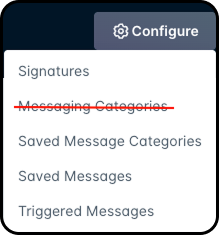
3. Update a messaging category: If this is disabled, users will only see the “Delete” option next to messaging categories — “Edit” won’t be available.
4. Delete a messaging category: If this is disabled, users won’t be able to delete messaging categories. - Saved Messages: Create, view, edit, and delete message templates.
Permission Details
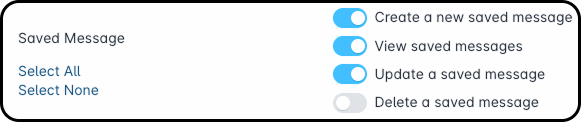
The Saved Message category of permissions has four options.
1. Create a new saved message: If this is disabled, users are unable to create a saved message.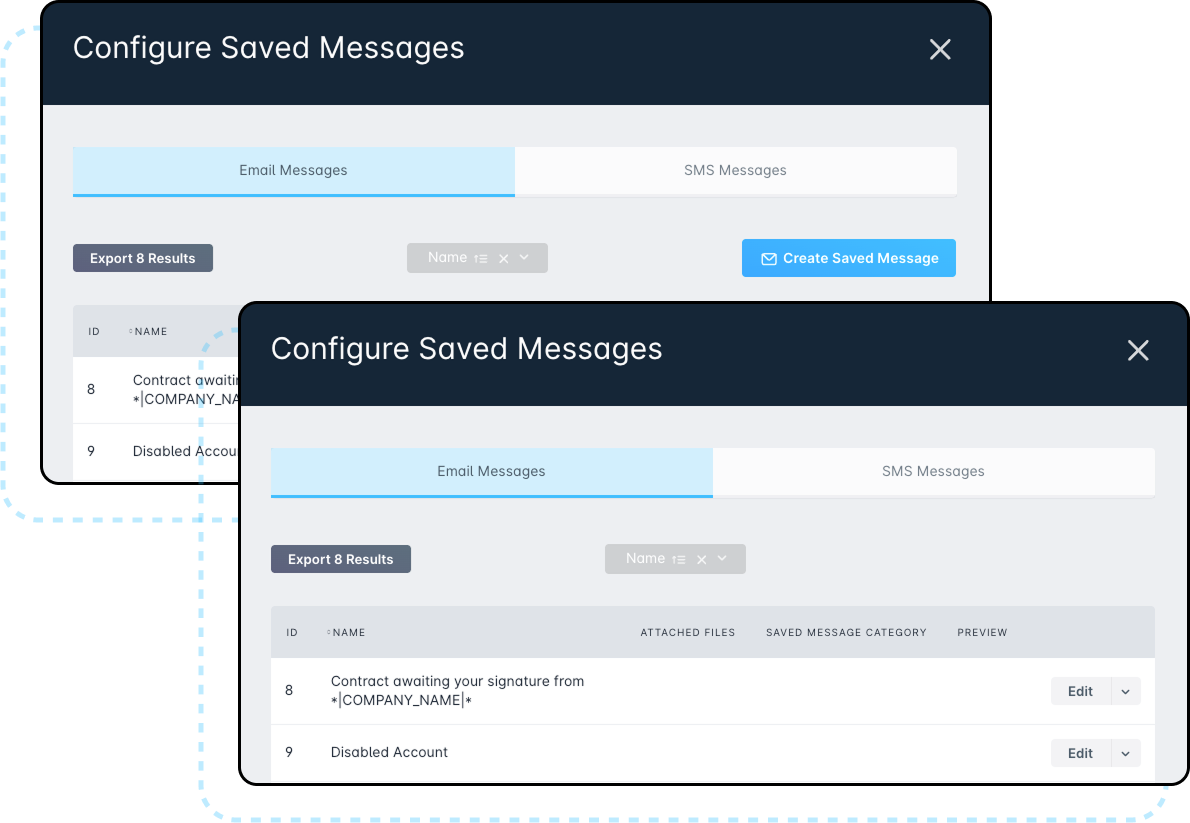
2. View saved messages: If this is disabled, the “Saved Messages” option under “Configure” won’t appear. Users also won’t be able to create, edit, or delete saved messages.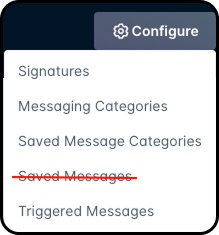
3. Update a saved message: If this is disabled, users will only see the “Delete” option next to saved messages — “Edit” won’t be available.
4. Delete a saved message: If this is disabled, users won’t be able to delete saved messages. - Saved Message Categories: Manage categories for saved messages.
Permission Details
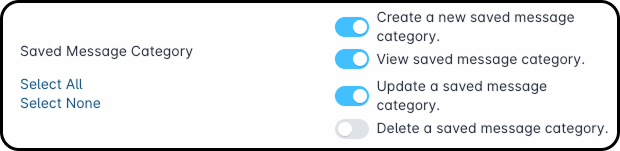
The Saved Message Category of permissions has four options.
1. Create a new saved message category: If this is disabled, users won’t see the option to create a saved message category.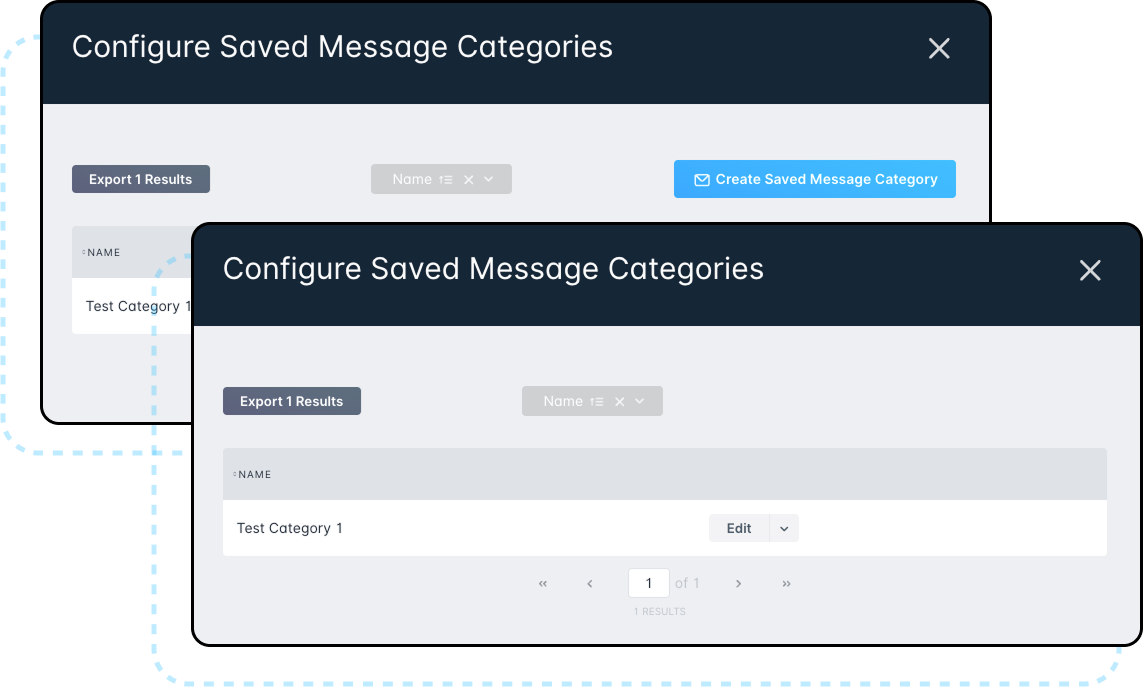
2. View saved message category: If this is disabled, the “Saved Message Category” option under “Configure” won’t appear. Users also won’t be able to create, edit, or delete saved message categories.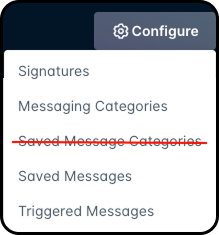
3. Update a saved message category: If this is disabled, users will only see the “Delete” option next to saved message categories — “Edit” won’t be available.
4. Delete a saved message category: If this is disabled, users won’t be able to delete saved message categories.
How it Works
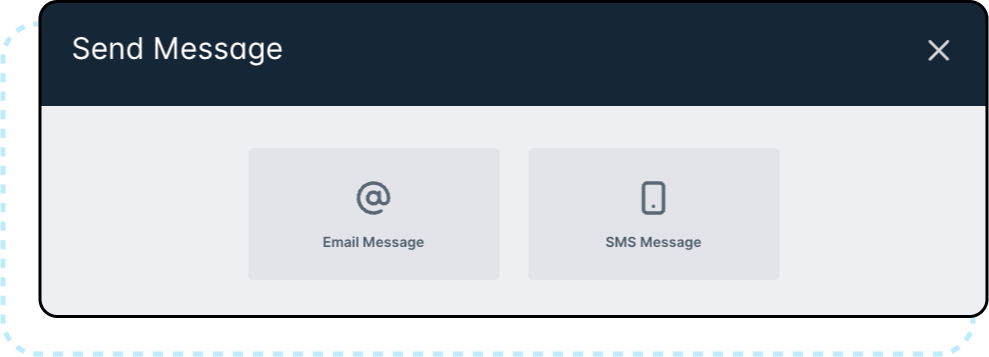
Direct Messaging introduces a clear workflow for sending either Email or SMS Messages directly from the account management view. A new Send Message button is now always visible on any account tab, located beside the “Edit” button.

Selecting this button opens a modal where you can choose to send either an Email Message or an SMS Message.
Email Message
For Email Messaging, the workflow mirrors Mass Messaging by providing fields for category, saved message, from name/email, subject, body, and attachments. The “From” email is tied to an inbound mailbox so that any replies automatically generate tickets. Only contacts with valid email addresses will be available for selection, ensuring that all messages are properly routed.
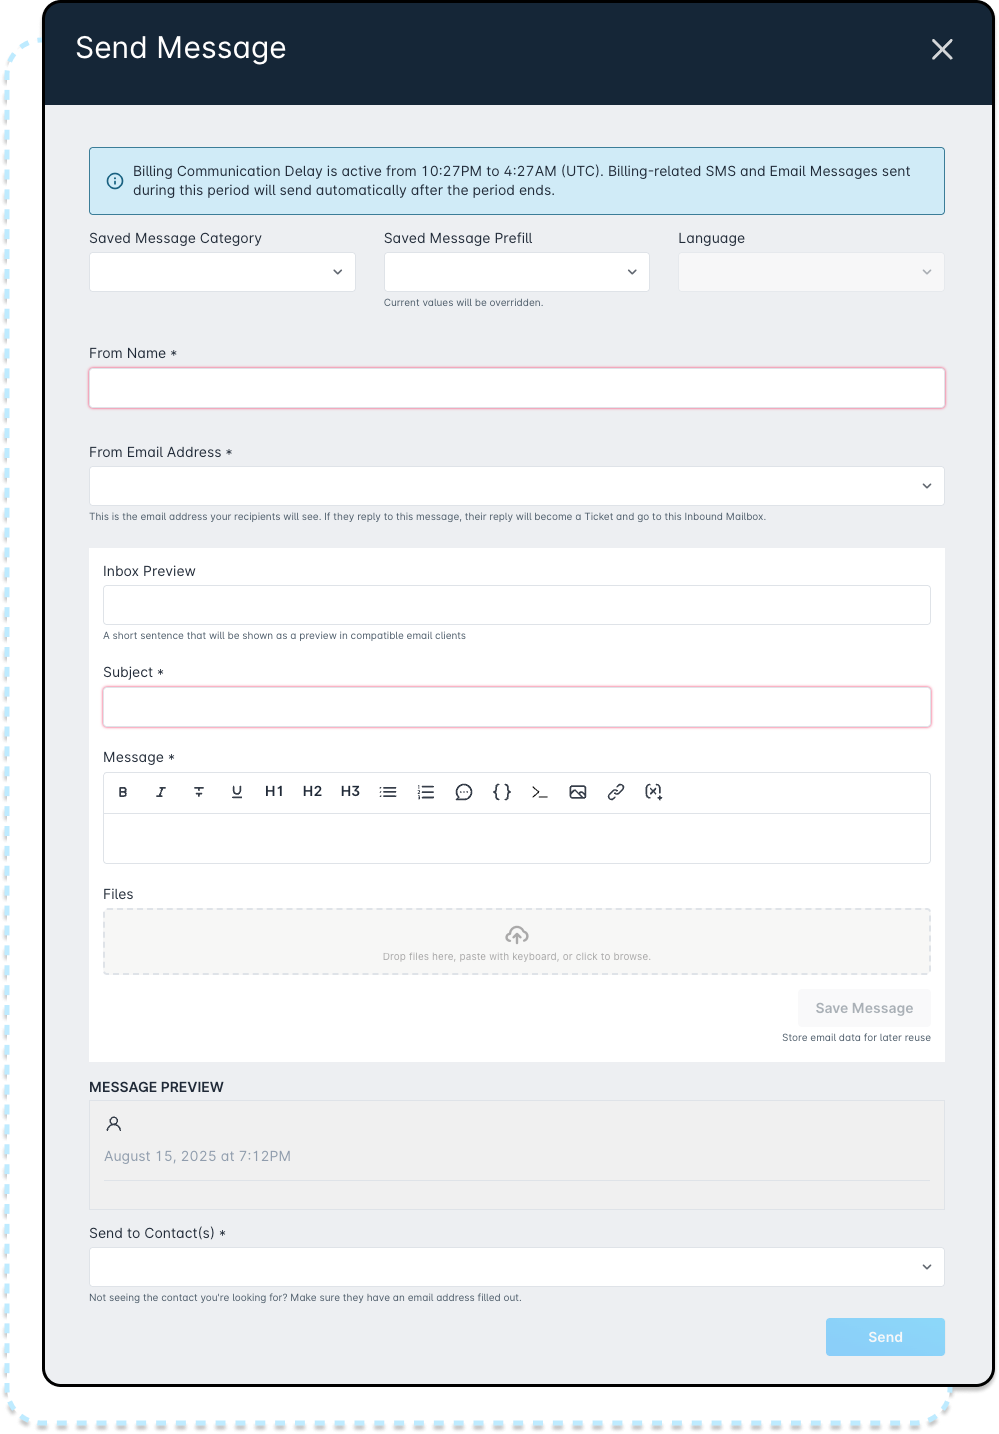
Field Details
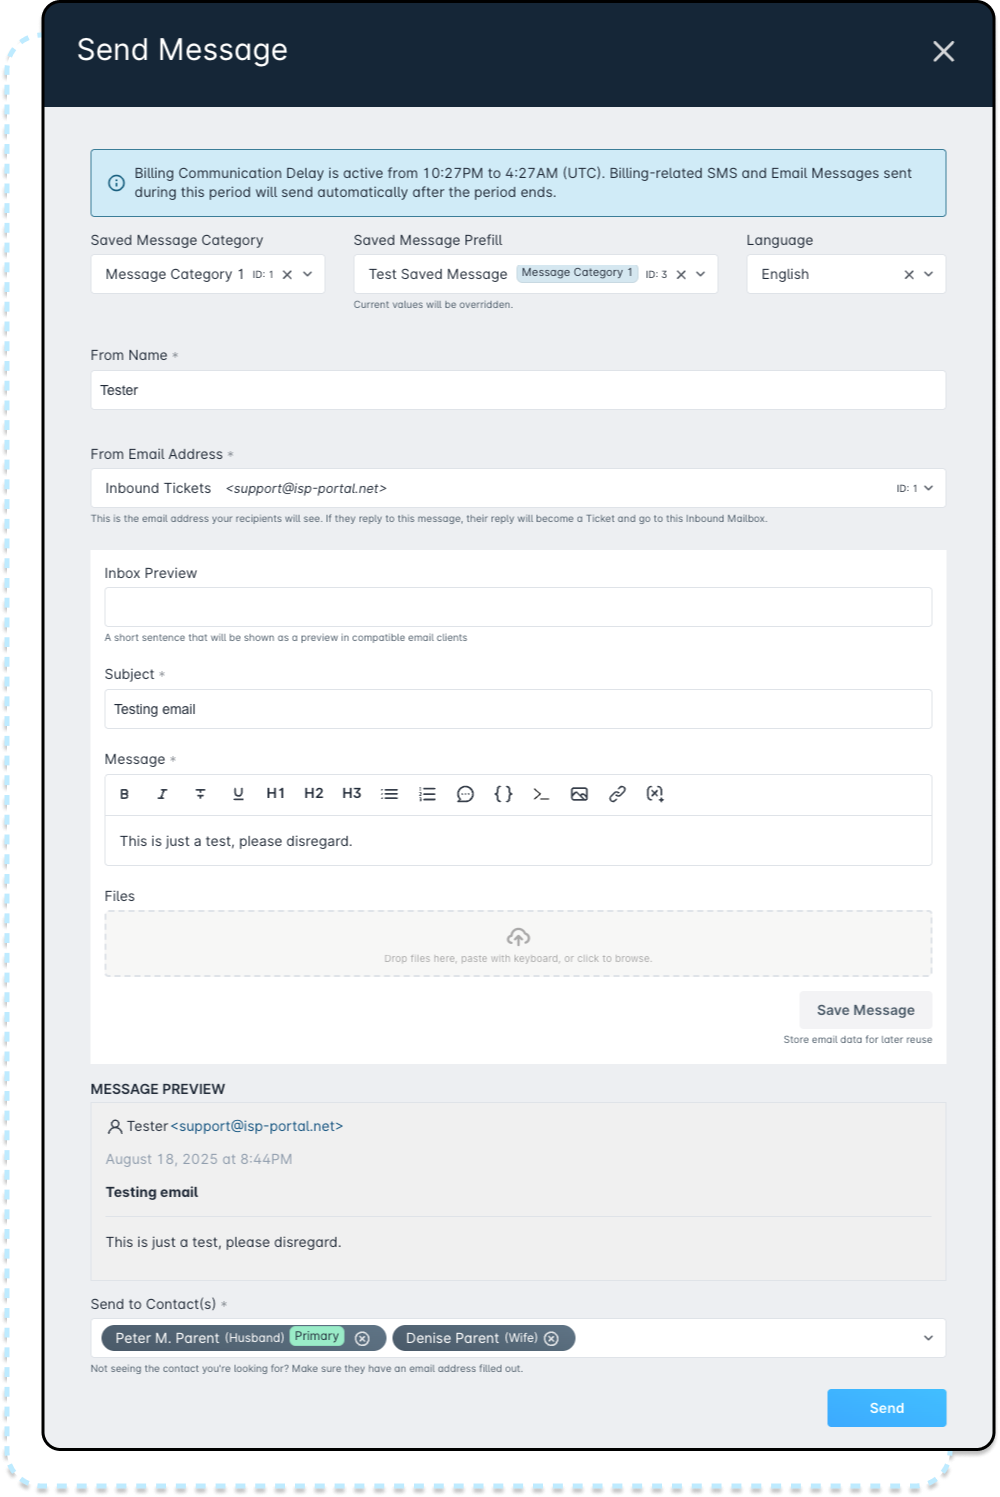
1. Saved Message Category: Allows you to filter/select the category of predefined message templates. Only templates within that category are displayed for sending.
2. Saved Message Prefill: Lets you choose an existing message template. Selecting one provides a ready-made message body, saving time and ensuring consistency.
3. Language: For templates that support multiple languages (e.g., English and French), this dropdown lets you specify which translation to use.
4. From Name (required): The sender name displayed to recipients. If not changed here, it defaults to your system default.
5. From Email Address (required): The email address messages are sent from. Must use a domain verified in your Sonar setup.
6. Inbox Preview (optional): A short snippet displayed in the recipient’s inbox—offers a quick preview of the message content.
7. Subject (required): The email subject line that appears in the recipient’s inbox.
8. Message (required): This is the main content of the email. You can include text, rich formatting, and variables to personalize your message (for example, contact name, amount due).
9. Files: Attach files up to 500 MB that will be included with the message.
10. Save Message: Saves the current message setup as a template, allowing you to reuse it later via the “Prefill From Saved Message” field.
11. Message Preview: Shows a live preview of how the message will appear to recipients—including applied templates and formatting.
12. Send to Contact(s) (required): Selects who the message will be sent to—only contacts with valid email addresses will appear, and you can pick one or more recipients.
SMS Message
Only contacts with valid, opted-in SMS numbers are displayed as selectable options, ensuring compliance and accuracy. You can select multiple recipients or remove contacts before sending, and the SMS Message is delivered as a one-way communication using triggered templates.
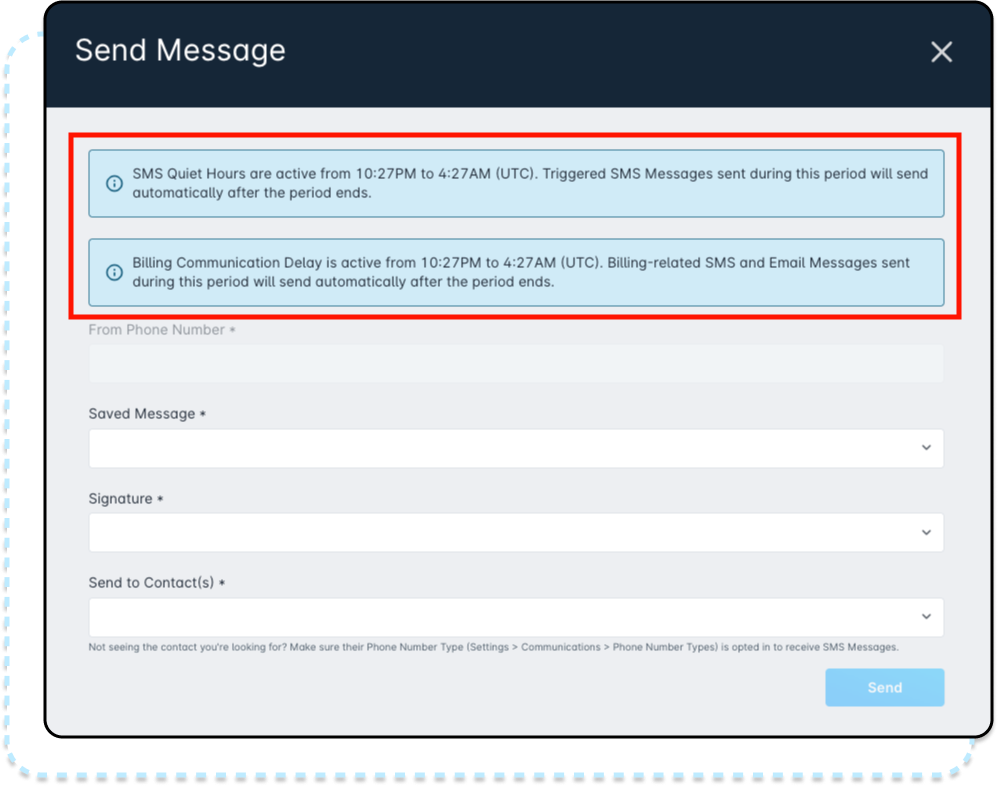
Field Details
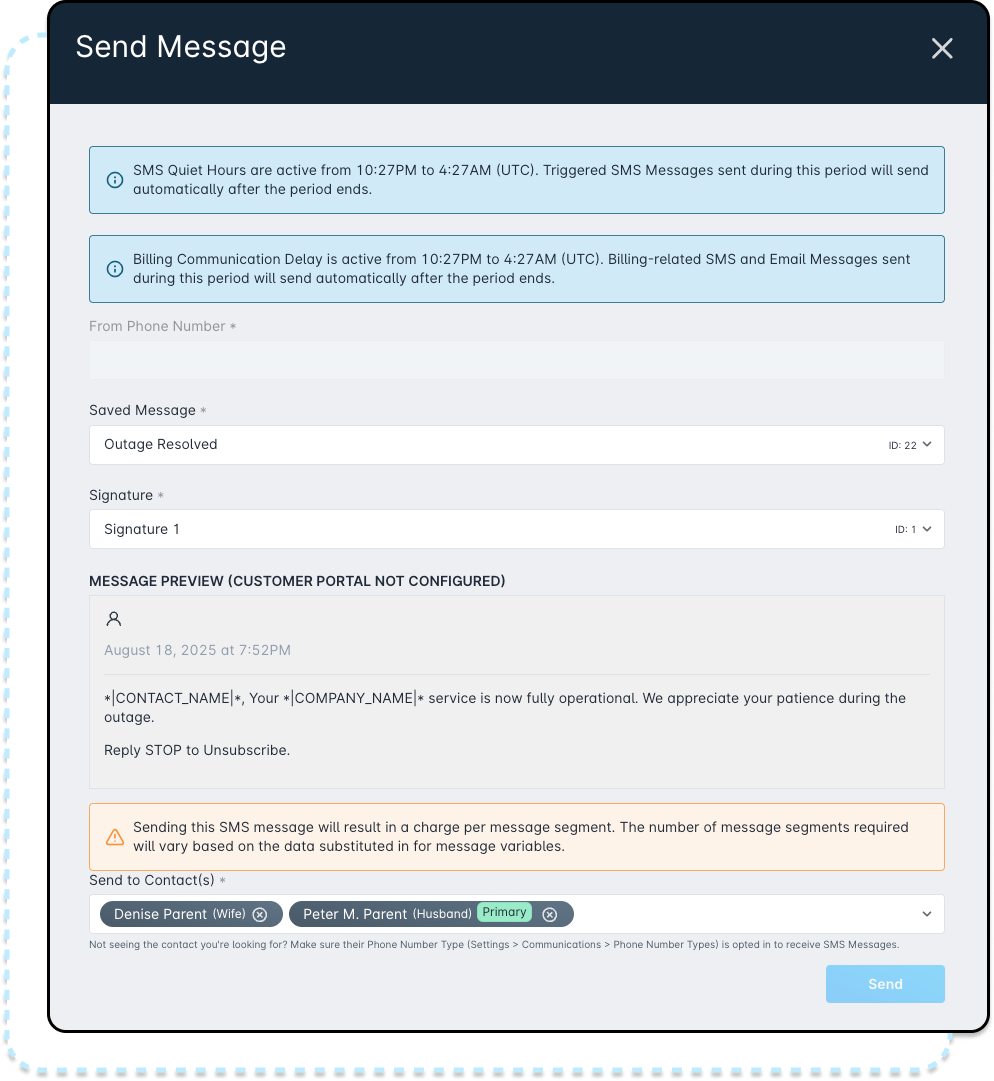
1. From Phone Number: Select which phone number the SMS will be sent from. If only one exists, it’s used automatically.
2. Saved Message: Choose a pre-made SMS template (all messages must use these).
3. Signature: Add a pre-set snippet, like unsubscribe info or contact details, to the end of the message.
4. Send to Contact(s): Pick the contact(s) who will receive the SMS, as long as they’ve opted in.
Sending a Message from an Account Contact
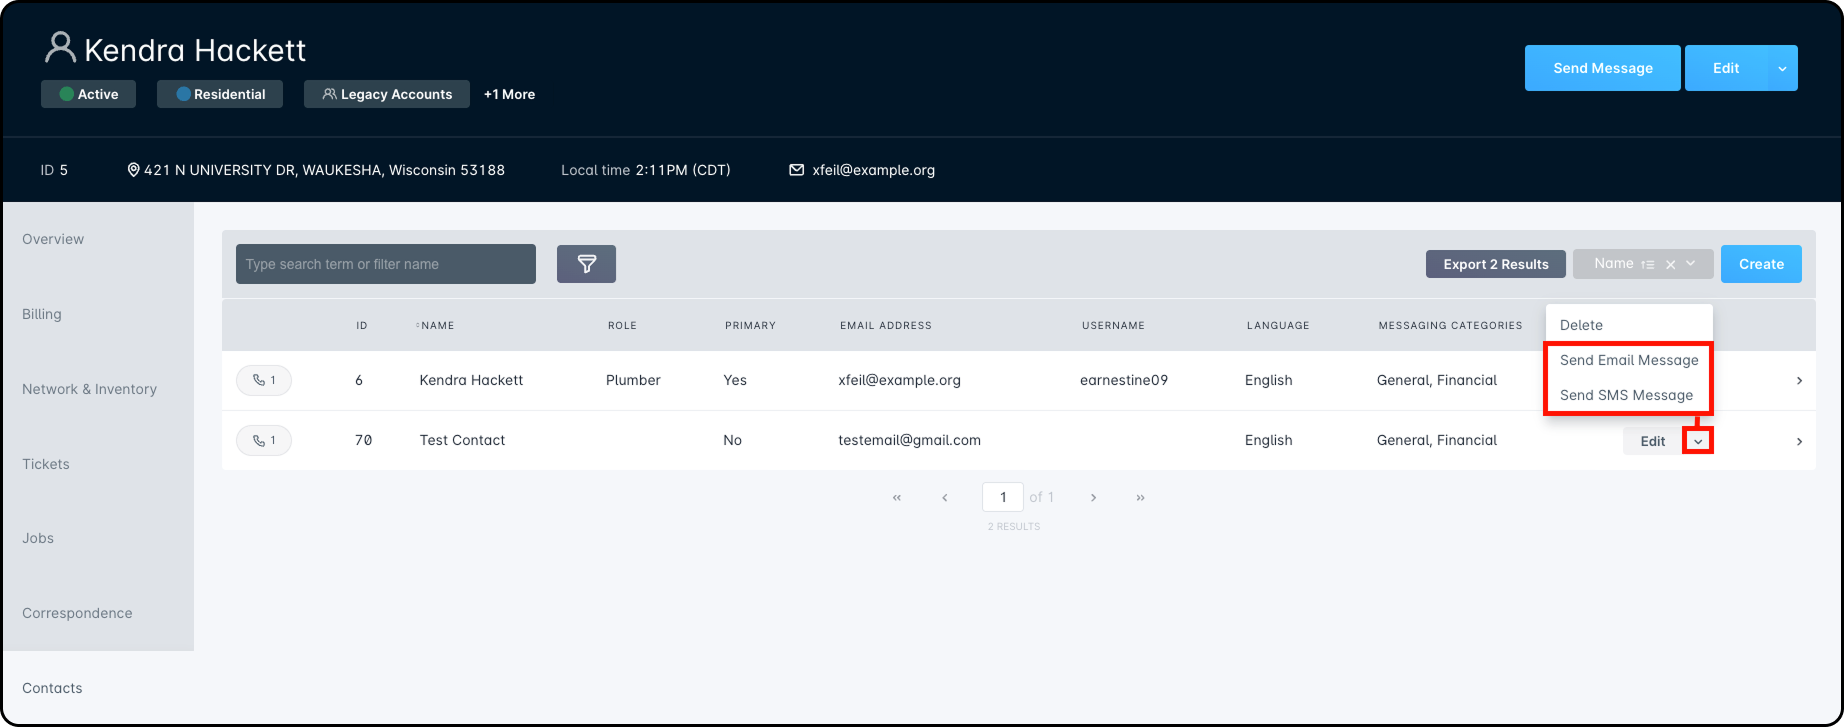
Sending a direct message from a contact is simple and adapts to the communication methods available for that contact. If a contact only has an email address on file, the system will show email as the only option. If a contact only has a valid SMS on file, the system will show SMS as the only option. If they have both an email and a valid SMS number, both options will appear. When you choose to send a message, the system will automatically pre-fill the contact’s name in the “Send to Contact(s)” field, saving you time.
To send a message:
- Open the account and navigate to the Contacts section.
- Click the dropdown arrow beside “Edit.”
- Select whether you want to send an Email Message or SMS Message.
- If sending an SMS, review the quiet hours and billing delay notice (informational only), select recipients with valid opted-in SMS numbers, then select your message and send.
- If sending an Email, complete the fields such as category, from name/email, subject, body, and attach files if needed. Select recipients with valid email addresses, then send.
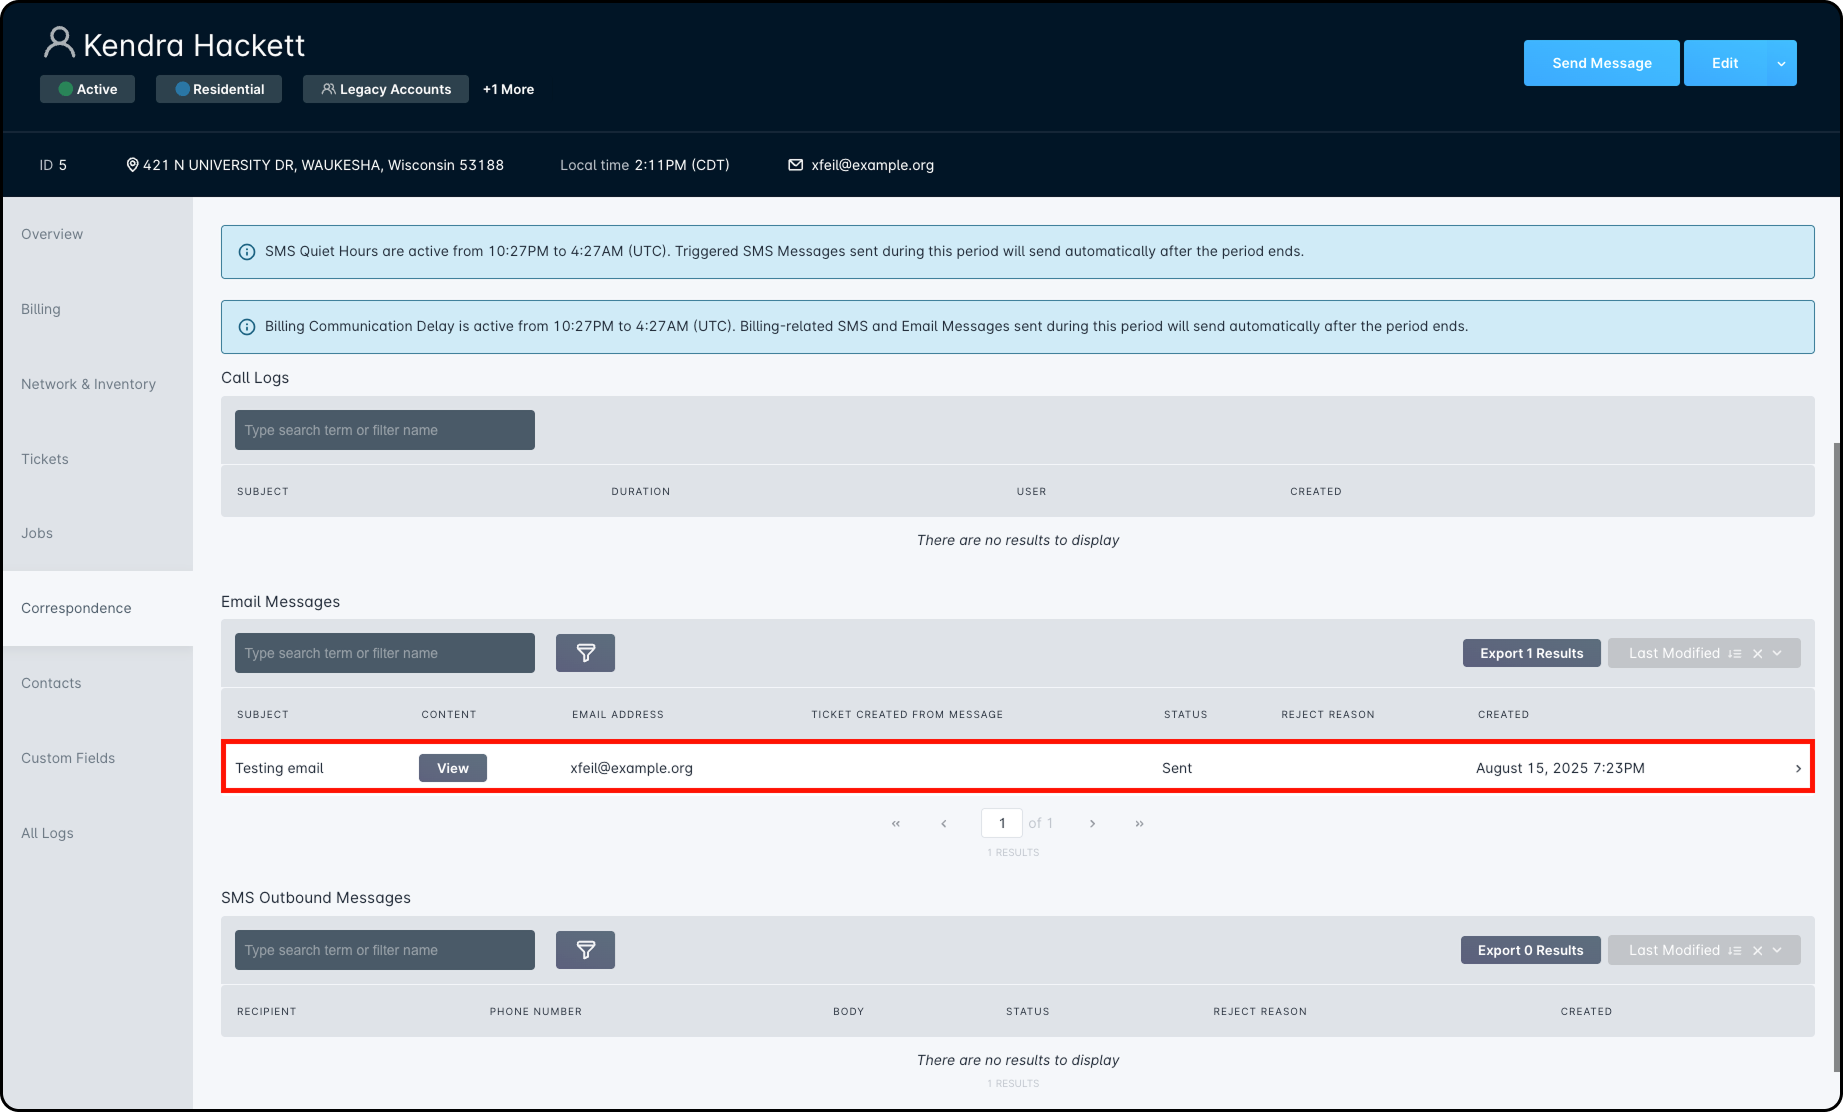
- All messages sent will appear in the account’s Correspondence tab, and any replies will be logged in the conversation history, tied back to the originating ticket when applicable.
Correspondence Tracking
All sent messages appear alongside other communications in the account’s Correspondence tab. Replies to emails are logged in the originating ticket’s conversation history, with the original message included for context, providing a complete and reliable communication trail.