Notes and tasks are effective ways to equip users with pertinent information and to help ensure that any necessary actions are taken. Both of these features can be set up on multiple entities, such as accounts, network sites, and jobs, and are displayed in various areas within Sonar.
Notes
There are 3 different types of notes that you can create:
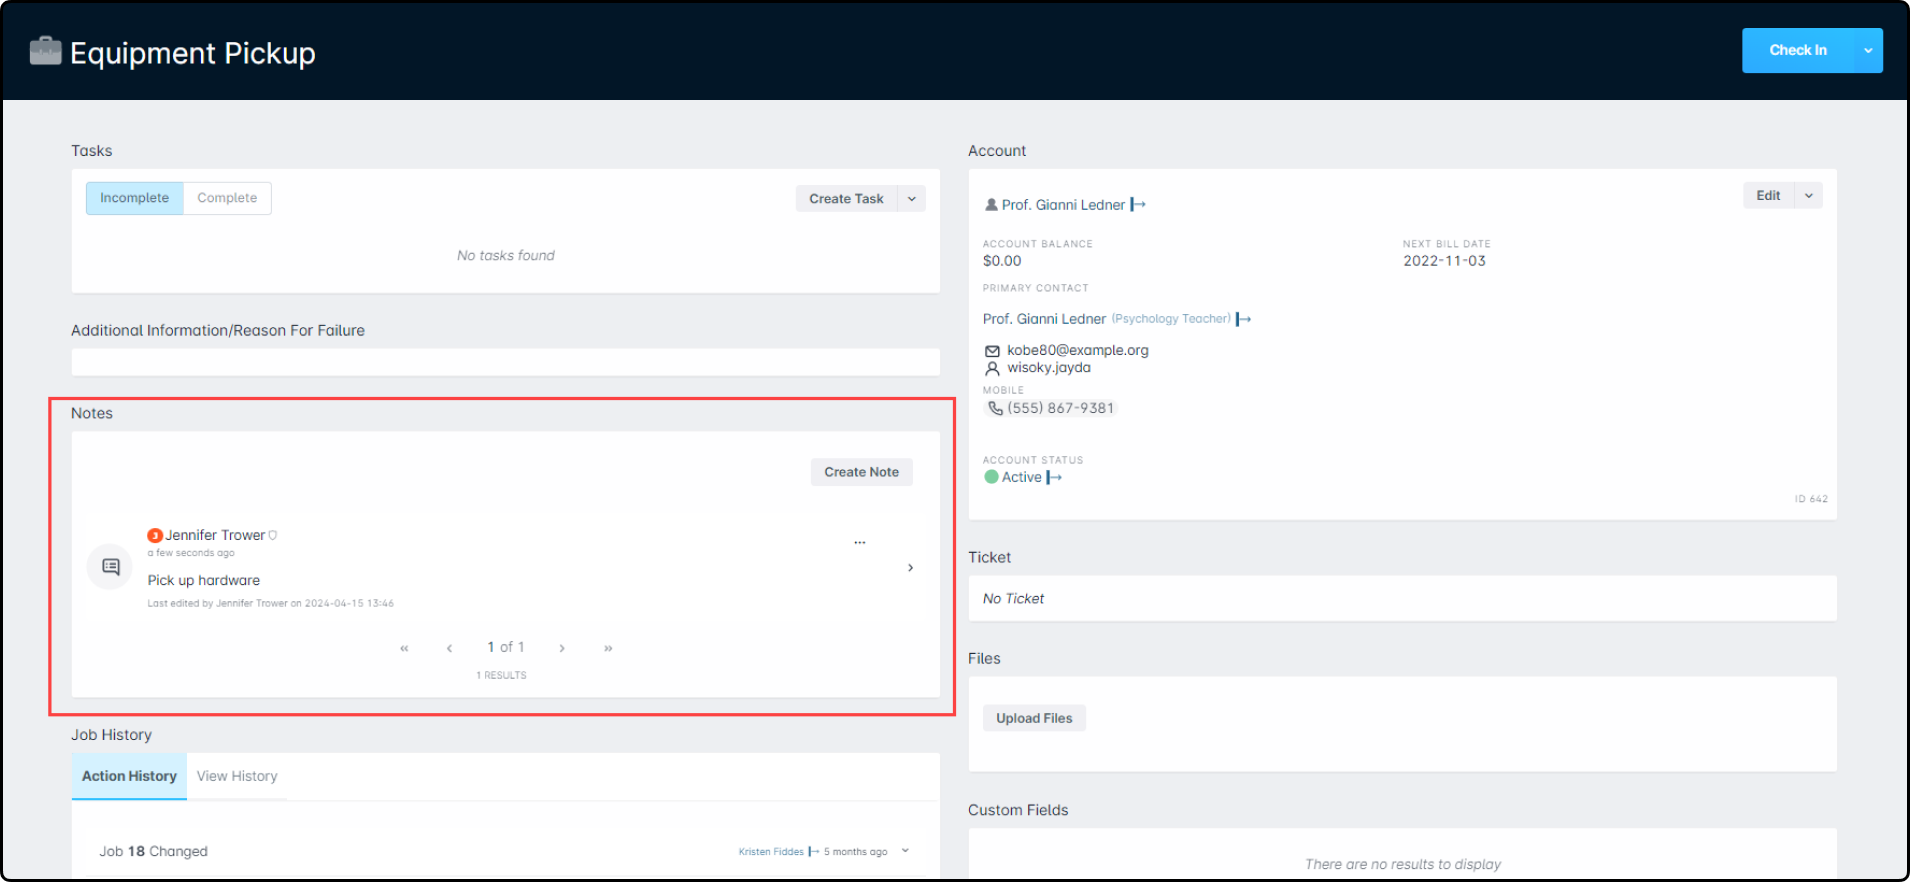
Normal: A normal note is not given a higher priority than the other types of notes. Once created, the note will remain visible in the Notes area for the entity it was created for. Normal notes are great for making sure that all users have any necessary or helpful information when dealing with a particular entity. Below is an example of a normal note on a scheduled job.
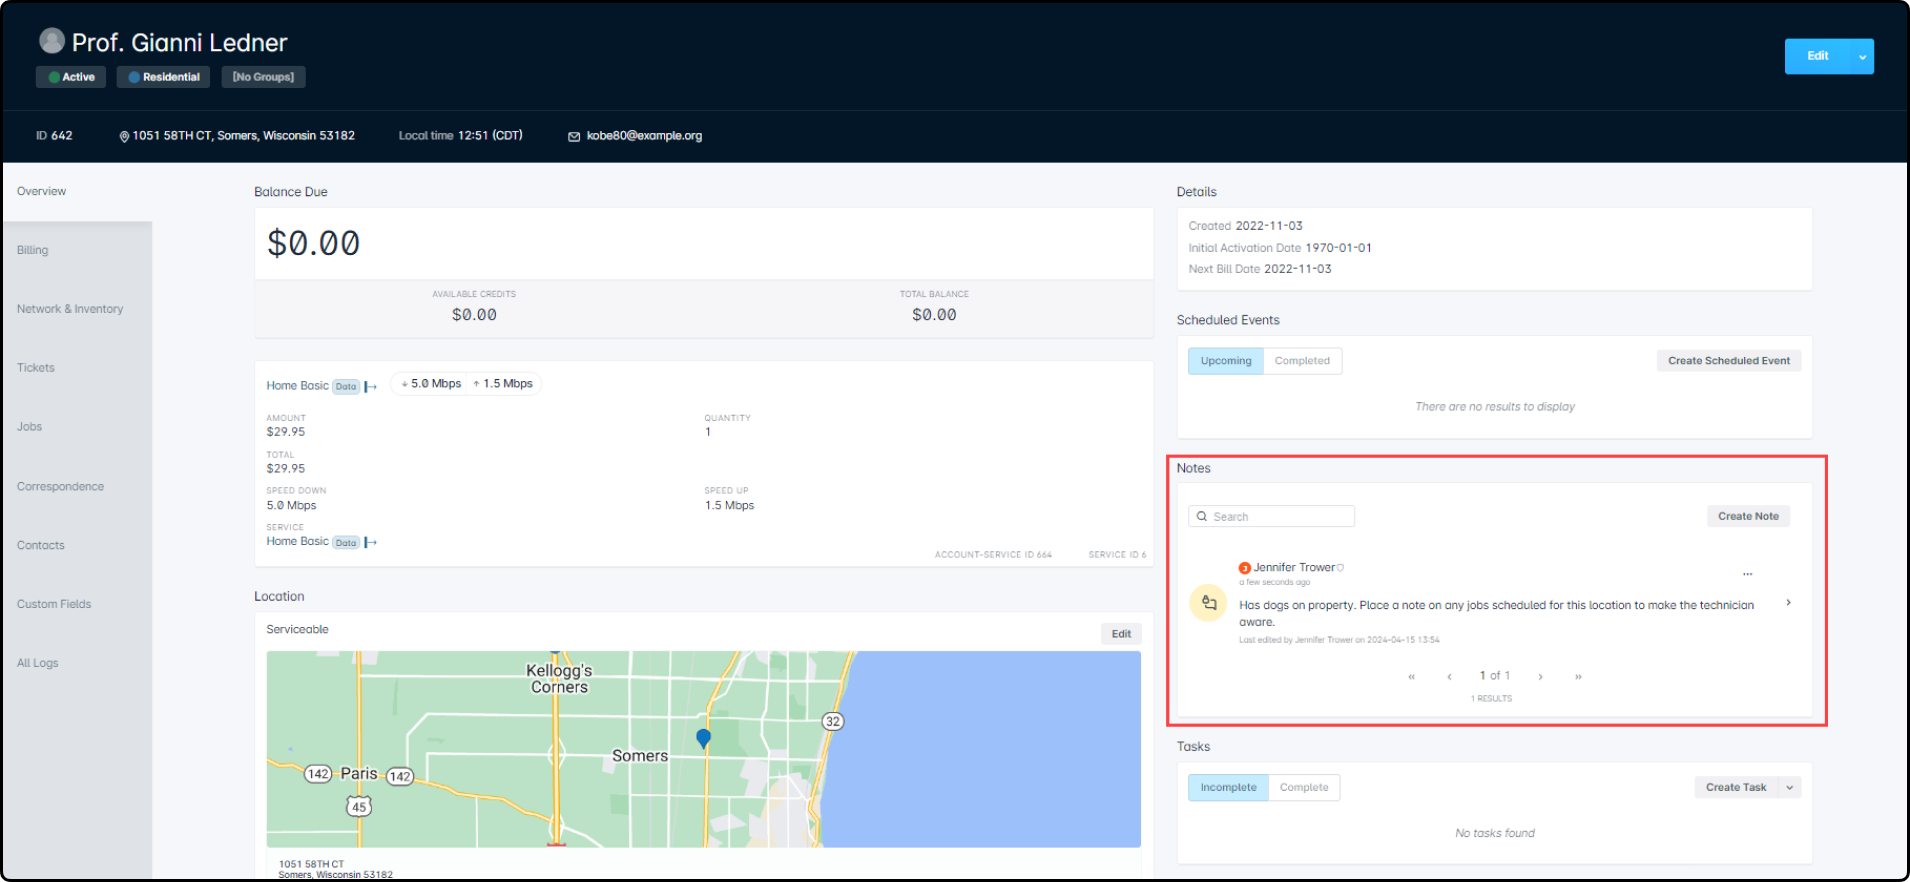
Sticky: Sticky notes are similar to normal notes, except that sticky notes will always be given a higher priority and therefore maintained as the first note in the list. These notes are useful for situations where you have potentially time-sensitive information that needs to be made available to all users viewing that entity, or information that needs to be found quickly. Below is an example of a sticky note on an account.
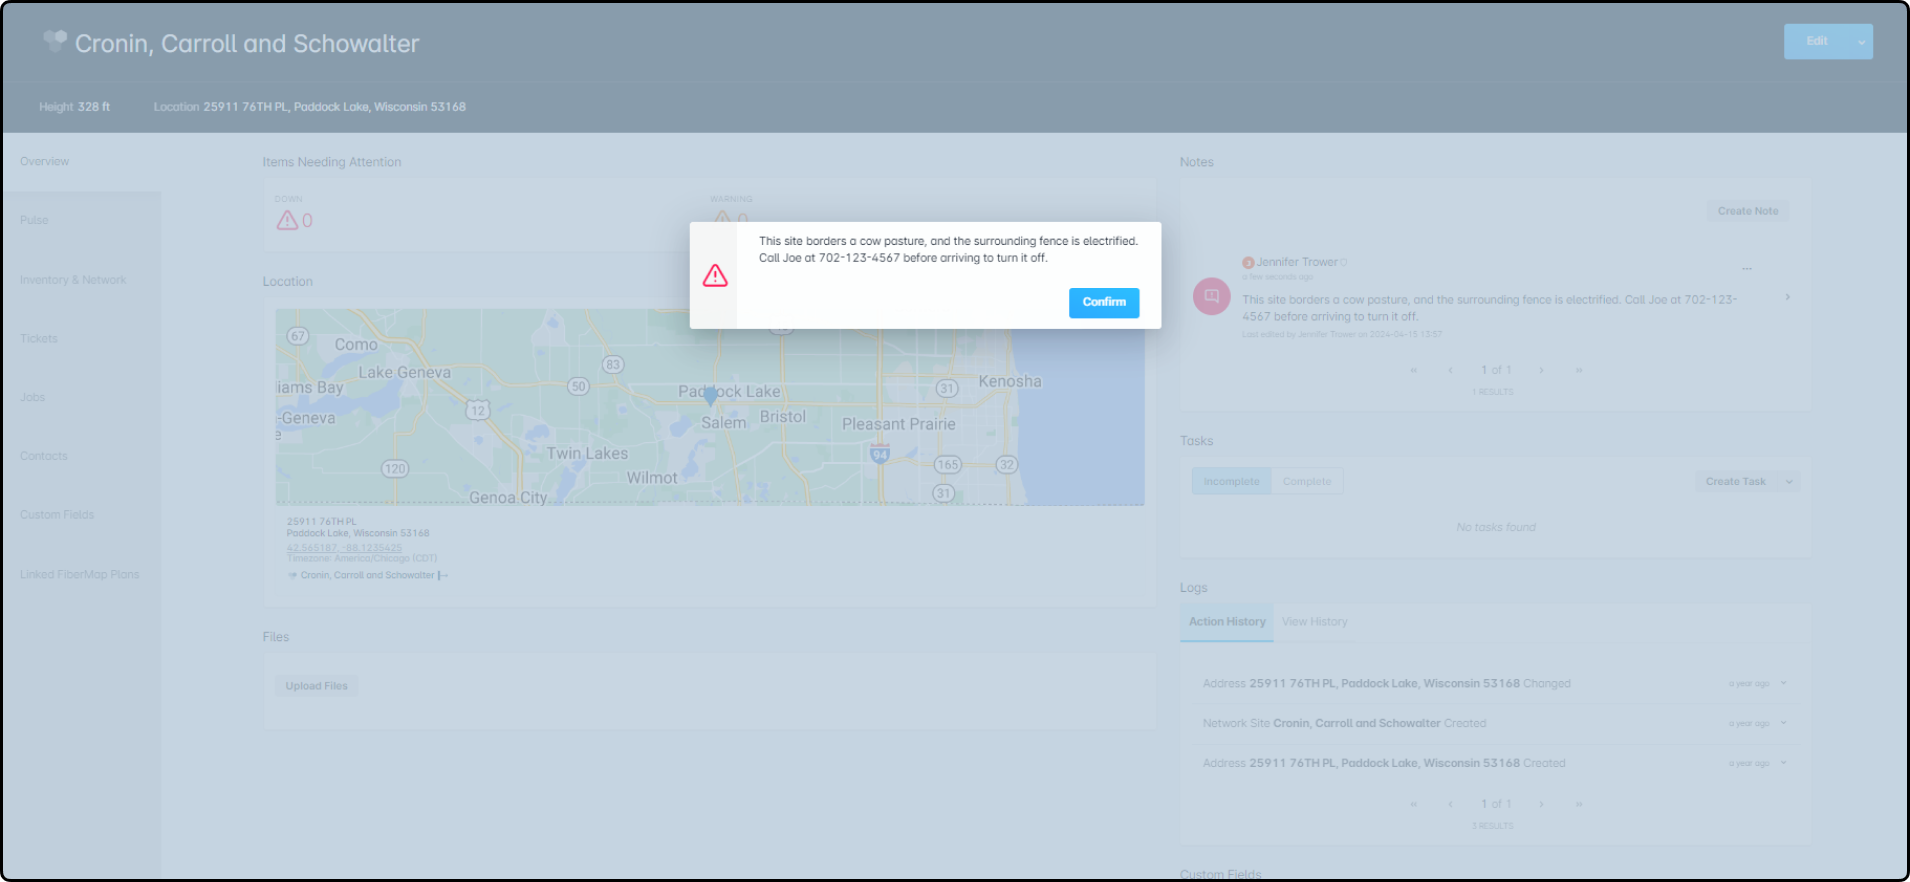
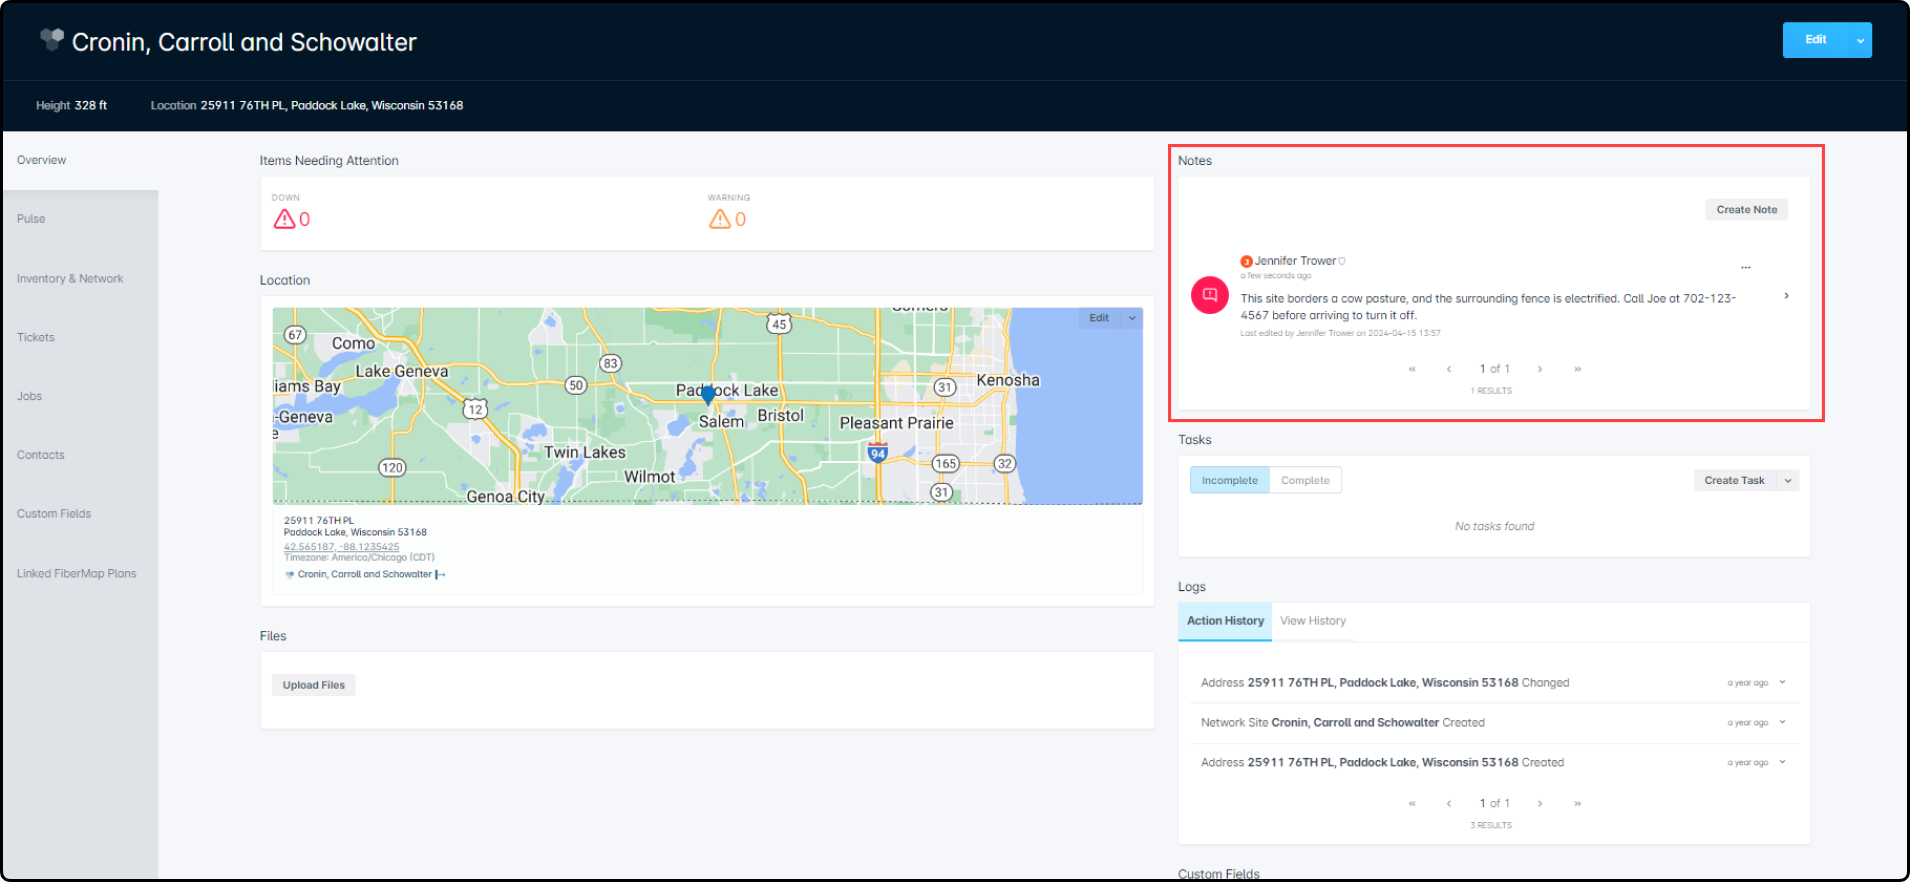
Sticky With Confirmation: A sticky with confirmation note functions the same as a sticky note, except there will be a pop-up window displayed anytime that particular page for the entity is loaded. The pop-up window requires user interaction, as the “Confirm” button must be clicked before the screen will be viewable. These types of notes are ideal for situations where you want to ensure a user has a particular piece of information before even navigating through the entity's page. They will have to dismiss the note before being able to continue on in the page. Below is an example of a sticky note with confirmation on a network site.Once the pop-up has been dismissed, the note will still be visible from within the Notes list.
Within Sonar's Field Tech Mobile App, notes that are sticky with confirmation will only pop up once for each user; once the user acknowledges and confirms that particular note, it won't pop up for that user again.
How To Use Notes
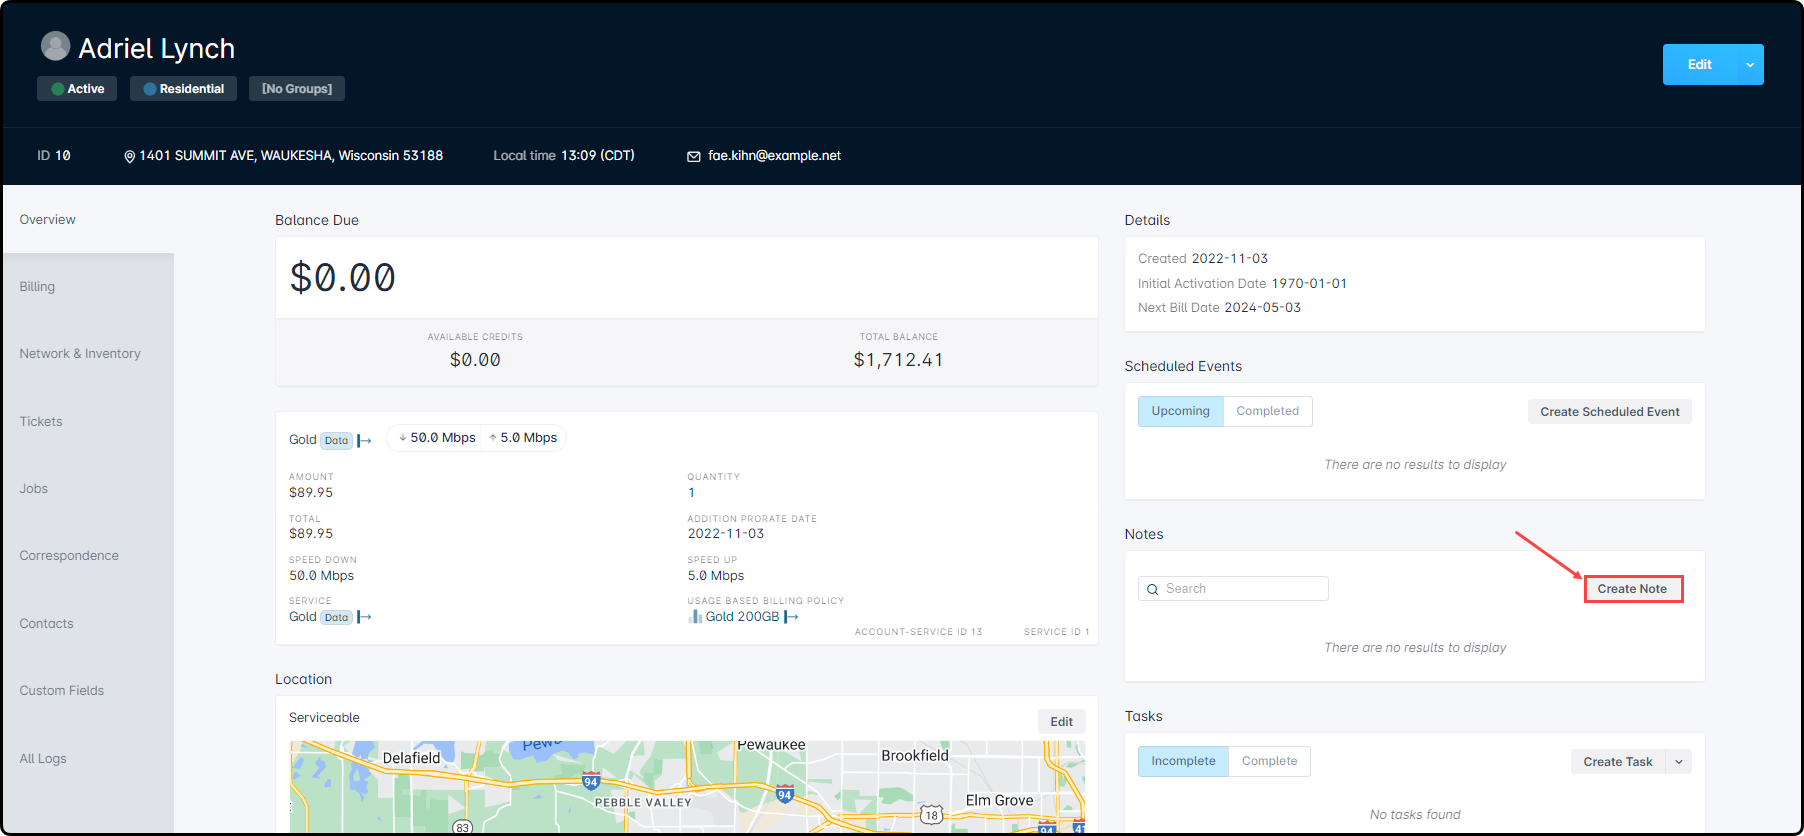
A note can be created wherever you see the “Create Note” button available.
Clicking “Create Note” will result in a Create Note modal appearing.
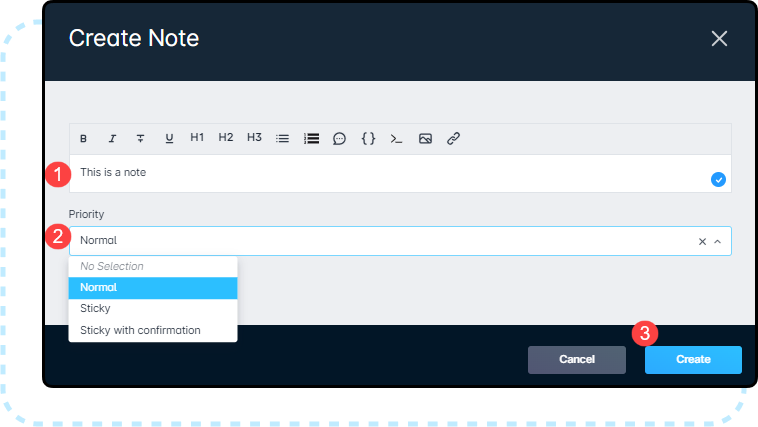
Input the note you wish to place on the entity.
The “Priority” field will populate after inserting the note, allowing you to select the type of note it will be.
Once you are finished with your note, click “Create”.
Once created, the note will live and be visible from the Notes section for that entity. If the note you created was of type sticky with confirmation, the auto pop-up window will appear the next time the page is loaded.
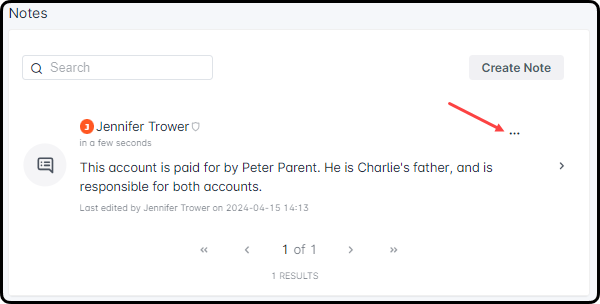
To edit or delete an existing note, click on the 3 dot menu next to the note. This menu will provide you with the option to delete or edit.
Clicking “Edit” will open the Edit Note modal, where you can edit the note type and the text displayed.
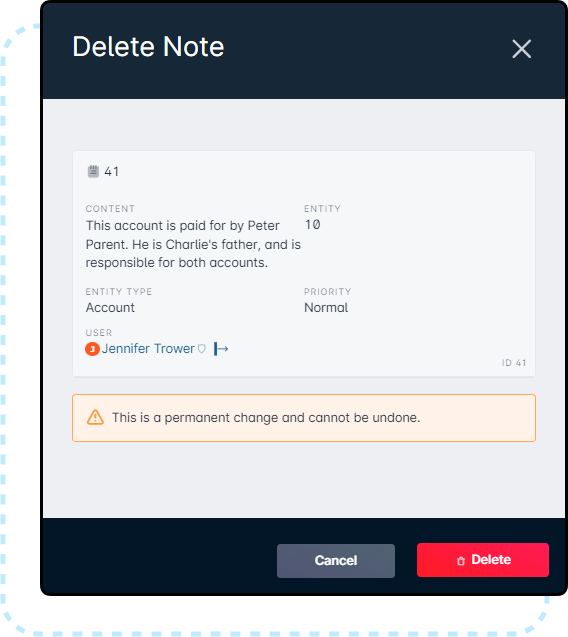
Clicking “Delete” will open a “Delete Note” modal, having you confirm that this is the action you want to take.
Example Use Cases
Below are some commonly used example cases of where Notes can be particularly useful within Sonar.
If a customer has any special arrangement(s) and/or discount(s) that other users should be aware of when viewing their account.
To track/make note of attempts made to contact a customer, so that other users can see this as well.
When a customer's payment has bounced or been declined, a transaction has been reversed, or a discount has been added.
If there is a particular employee that the customer should be forwarded to when they call in for support.
To share login credentials for particular equipment and/or software with other users.
To track when a customer is upgrading/downgrading their service, or will be moving into a vacation mode temporarily.
When there is a child account situation where the parent account handles all communications.
 Updated
by Jennifer Trower
Updated
by Jennifer Trower

 Within Sonar's Field Tech Mobile App, notes that are sticky with confirmation will only pop up once for each user; once the user acknowledges and confirms that particular note, it won't pop up for that user again.